
Blog
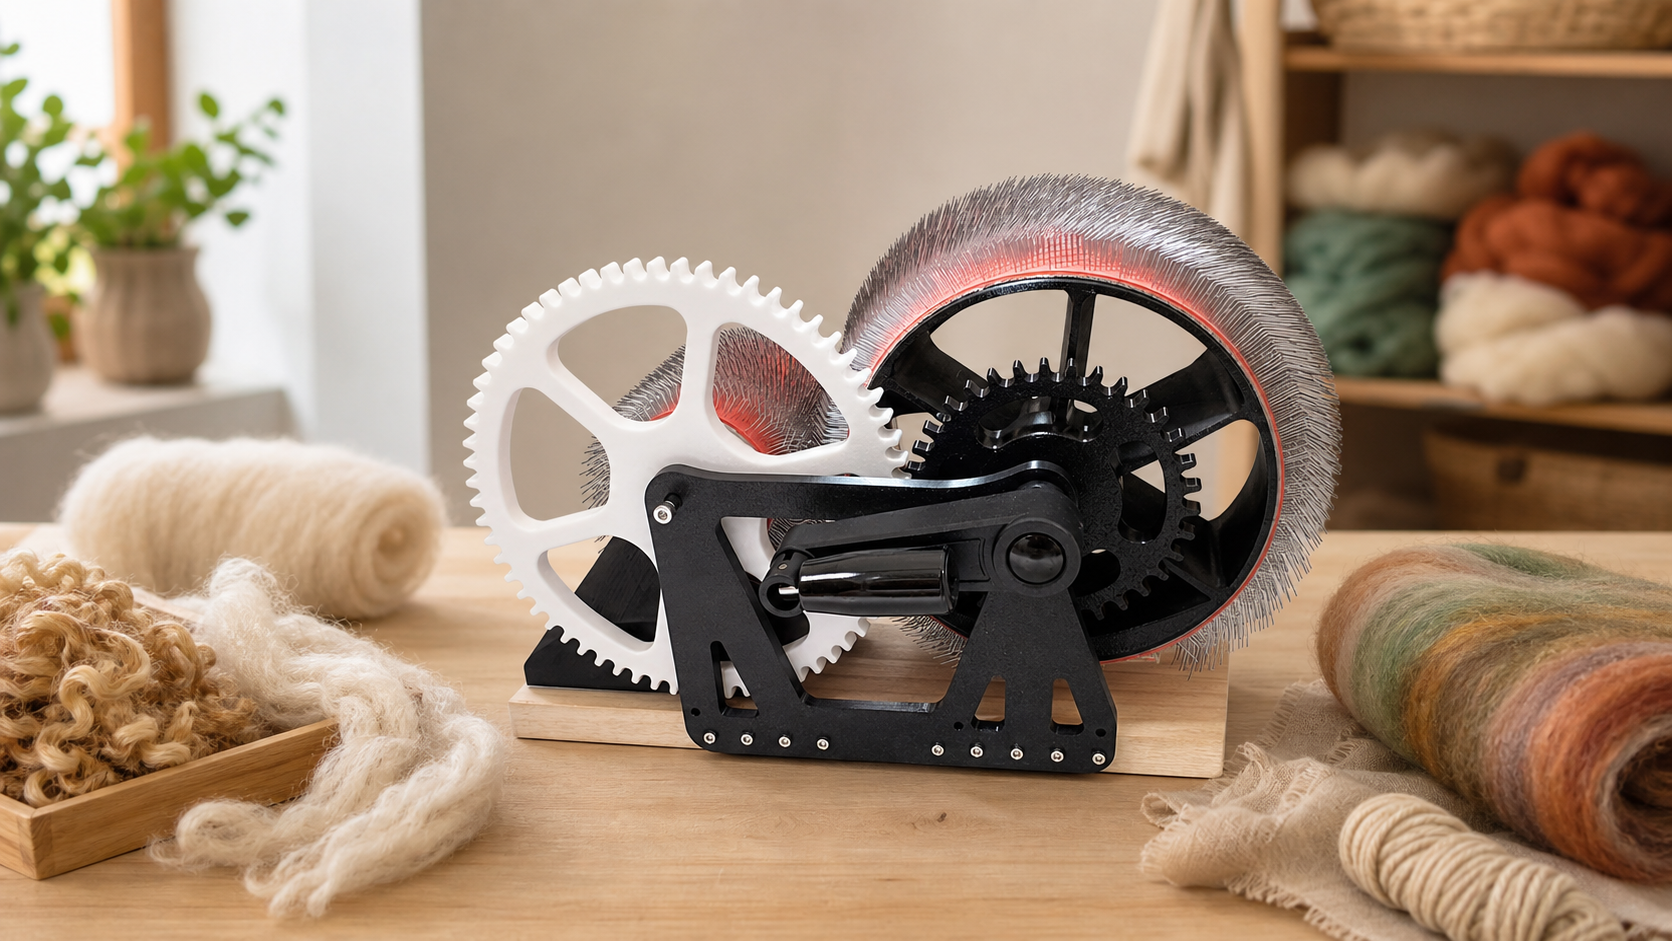
Drum Carding Wool: First Batt Workflow
Jul
Quick answer: a good first session of drum carding wool starts with clean, open fiber, very light feeding, one even base layer, a careful second pass only if the batt needs it, and slow removal. Treat the first batt as a sample. It should teach you how the wool behaves before you try to make a full set.
Drum carding wool can look simple from the outside: fiber goes in, a batt comes out. In practice, the first batt is where most people learn the difference between a smooth rhythm and a crowded drum. The goal is not to fill every inch as fast as possible. The goal is to build a sheet of fiber that is open enough to draft, felt, blend, or sample without fighting you.
This guide is for the first wool batt workflow, not a shopping comparison. If you are still choosing equipment, the broader wool carding guide explains the larger process, and the DrumCarder Studio Fiber Carder page has the current product path.
Start With Open Wool, Not Packed Wool
The first batt begins before the carder turns. Pull the wool apart by hand, remove obvious debris, and separate compacted pieces into small clouds. If the fiber is damp, sticky, greasy, or tightly clumped, it will not feed evenly. Carding can improve preparation, but it cannot magically fix poor opening in one pass.
Set the opened wool beside the carder in the order you plan to use it. Keep the amount modest. A beginner-friendly first batt might use less fiber than you expect, because the lesson is control. Once you can make a light, even batt, you can repeat the session with more confidence.
Feed The First Layer Lightly
Turn the handle steadily and feed wisps rather than handfuls. Let the carding cloth take the wool; do not push a thick lump into the intake. If the fiber hesitates, stop and open it more. Forcing the feed usually creates ridges, trapped knots, or areas that feel ropey when the batt comes off.
Move across the width of the carder instead of feeding into one narrow strip. A thin area can receive the next pinch of wool. A thick area should rest until the surface looks more balanced. This first layer becomes the foundation, so it is worth slowing down.
Watch The Drum Surface As You Work
Your eyes are part of the process. A good first batt usually looks even enough that no single ridge dominates. Small variations are normal, but tall ridges mean the wool is going on too heavily. Empty bands mean your hand is not traveling across the width. If you catch these signs early, the correction is easy.
Do not wait for the batt to become thick before evaluating it. Stop for a moment and look at the surface. If the fiber is already compacted, adding more wool will not make it smoother. The best correction may be removing the batt, loosening it by hand, and making a lighter second attempt.
Decide Whether A Second Pass Helps
A second pass can even out a first batt, but it should have a reason. Remove the batt gently, split it into manageable strips, open those strips slightly, and feed them again in thin layers. This can help blend uneven patches and make the batt more consistent.
Do not use a second pass as a punishment for every flaw. Too many passes can blur color, reduce loft, and make a soft wool batt feel less lively. For a plain wool practice batt, a second pass is useful when the first sheet has obvious thick and thin areas. If the batt already drafts well, stopping may be the better choice.
Remove The Batt Without Yanking
Removal is part of the first-batt lesson. Find the leading edge, lift slowly, and peel or roll the fiber away with even tension. If one side sticks, pause and release that area before pulling harder. Sudden force can tear the batt or compress the wool you just opened.
Once the batt is off, let it rest loosely. Pull a small strip and draft it between your hands. If it opens easily, your feeding was probably light enough. If it clumps, look for the cause: packed fiber, uneven lanes, damp wool, or too much fiber for the first session.
Use The First Batt As A Sample
The first batt should answer practical questions. Did the wool need more opening? Did you feed too fast? Did the batt come off cleanly? Does it draft smoothly? Write down what happened while the session is fresh. A two-line note can save a lot of guessing later.
If you plan to make matching batts, repeat the successful parts exactly. Use similar handful sizes, similar passes, and similar removal habits. If the first batt was not pleasant, change one thing at a time. That is how drum carding wool becomes a repeatable studio routine rather than a series of surprises.
Common First Batt Mistakes
The most common mistake is overfeeding. Beginners often try to make the drum look full because a full drum feels productive. A lighter batt is easier to control and often more useful. Another mistake is treating the handle like a speed test. A steady rhythm gives the fiber time to transfer.
A third mistake is ignoring fiber prep. If the wool goes in as tight chunks, the batt may come out with tight chunks. Keep the prep simple, clean, and open. If a product-specific question comes up during your session, use the contact page rather than guessing about parts or setup.
Make Your First Wool Batt Easier
Review the DrumCarder Studio Fiber Carder for small-batch wool prep, art batt sampling, and home studio fiber work.
FAQ
How much wool should I use for a first batt?
Use less than you think you need. A light practice batt teaches feed control and removal more clearly than a full drum.
Should my first wool batt go through twice?
Only if the first pass is uneven or clumpy. If the batt is already open and drafts well, a second pass may not improve it.
Why does my first batt have thick ridges?
Ridges usually come from feeding too much fiber into one narrow area. Open the wool more, feed smaller wisps, and move across the width.
Can I add color to my first batt?
You can, but keep it simple. One base wool and one accent color make it easier to see how feeding and pass count affect the result.