
Blog
Small Studio Fiber Prep Workflow With a Drum Carder
Jul
Quick answer: a small studio fiber prep workflow with a drum carder should move fiber through clear stages: sort, open, sample, card, label, store, and clean. The carder is the center of the station, but the trays, notes, and reset habits around it decide whether the studio feels productive.
Small fiber studios usually do not fail from lack of wool. They fail from too many half-known piles. One bin holds washed locks, another has dyed strips waiting for a blend, a third has usable scraps, and the finished batt from yesterday still needs a label. A drum carder can make prep faster, but speed only helps when the fiber has a path.
The best workflow is simple enough to repeat on a busy day. Each stage should tell you what the fiber is, where it goes next, and what decision still needs to be made.
Build The Station Around Fiber Flow
Set the drum carder on a stable surface with a prep zone on one side and a clean landing area for finished batts on the other. Keep current-session fiber close, but keep stored fiber away from the carding surface. When too many bins sit open at once, colors and textures begin to migrate.
A workable station can be one bench, three trays, a scrap bowl, labels, and a shelf. The important part is direction. Fiber should move from unprepared to opened, from opened to carded, and from carded to labeled storage. If it circles back into mystery bags, the system needs fewer open projects.
Sort And Open Before Carding
Do the slow sorting before the carder is in use. Pick out debris, separate color families, open dense locks, and decide which fibers belong together. Fully dry dyed fiber before it joins the queue. Trying to sort while the carder waits often leads to hurried feeding and uneven batts.
If you are preparing wool and alpaca, keep their handling differences visible in the notes. Wool may give structure while alpaca adds softness and drape. Mixing them can be beautiful, but only when the ratio is intentional.
Group Similar Jobs Together
Batch work by color and fiber type. Card pale wool before dark wool, smooth spinning batts before textured art batts, and clean base blends before sparkle, locks, or other high-texture materials. This order reduces cleanup and keeps each session easier to judge.
If you make batts for classes or shop inventory, grouping also makes photos, weights, and labels easier. A series of related batts can be finished in one rhythm. Random one-off blends can be fun, but they create more note-taking and more cleanup than many makers expect.
Add A Sample Step For Risky Blends
Before using a large amount of dyed fiber or luxury fiber, make a small sample. Test the color, draft, grip, and texture. A sample is especially useful when adding alpaca, silk, mohair, longwool locks, or unfamiliar dyed fiber. It can reveal whether the blend needs more opening, fewer passes, or a different ratio.
For color placement and textured layers, read the art batt blending guide. For a steadier batt base, use the guide on how to card wool into smoother batts.
Label Finished Batts Immediately
Every finished batt should leave the carding zone with a label. Include fiber type, color notes, pass count, date, intended use, and weight if that matters for your work. If the batt is for sale, add your own care and handling notes while the details are still fresh.
Photograph batts before storage, especially if you sell or teach. Take one flat photo, one rolled photo, and one close view of texture. The photos help you repeat a blend, explain a color story, or avoid remaking a blend that did not perform well.
Keep Scraps Useful But Controlled
Useful scraps deserve a container. Debris deserves a separate one. Do not let every leftover bit become part of the next blend by accident. A controlled scrap bowl can become tweed flecks, sample fiber, stuffing, or texture accents. An uncontrolled scrap pile becomes visual noise and contamination.
At the end of the week, empty the scrap bowl on purpose. Decide what to keep, label it, and discard what no longer has a real use. This small habit keeps a small studio from filling with almost-useful fiber.
Reset The Bench At The End
Cleanup is part of the workflow. Clear loose fiber, close open bins, put labels and tools back, and leave the carder ready for the next project. Follow the care guidance for the specific tool instead of using harsh cleaning methods. A two-minute reset is easier than rebuilding the station before every session.
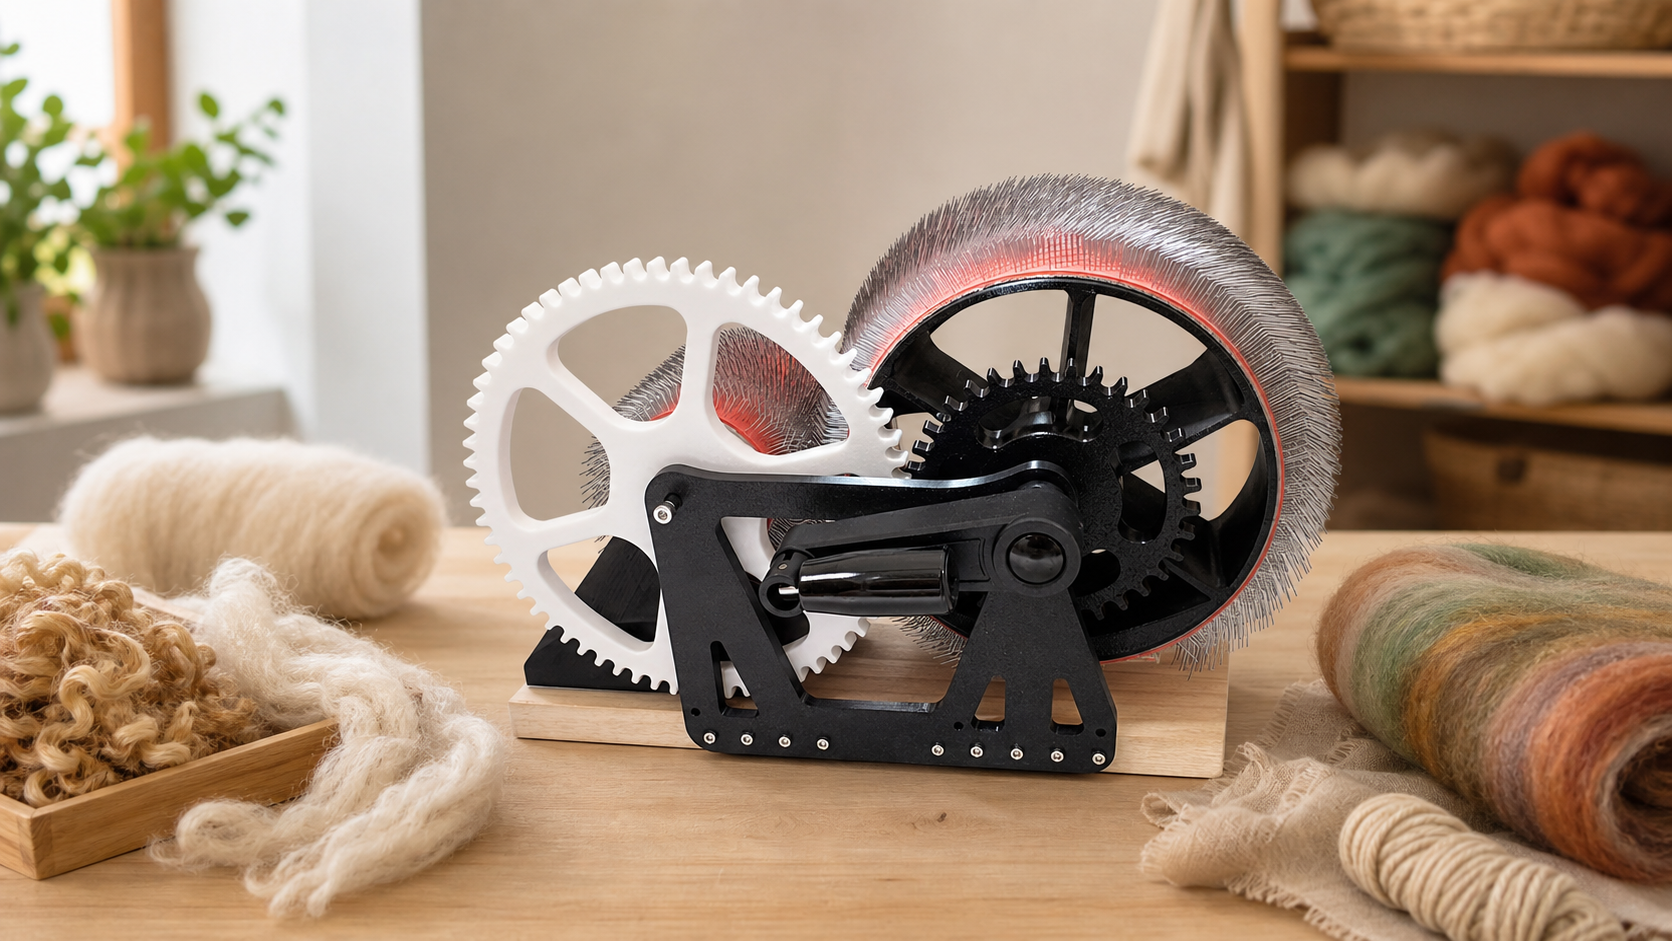
The DrumCarder Studio Fiber Carder fits this kind of small-batch studio routine. You can review the product from the DrumCarder homepage, and use the contact page for current setup questions.
Turn Small Studio Fiber Prep Into A Repeatable Routine
Use DrumCarder as the center of a cleaner workflow for sorting, sampling, carding, labeling, and storing wool and alpaca batts.
FAQ
What is the best order for small studio fiber prep?
Sort, open, sample when needed, card, label, store, and clean. Keeping the order steady makes the studio easier to run.
How do I prevent color contamination?
Batch similar colors together, clean between high-contrast blends, and keep only the current fiber blend open near the carder.
Should I card all prepared fiber in one long session?
Only if quality stays steady. Many small studios get better batts from shorter focused sessions with clear labels and cleanup between batches.
What should a finished batt label include?
List fiber types, color notes, pass count, date, intended use, and weight if the batt will be sold or repeated.
How do I keep scraps from taking over?
Use one container for useful scraps and one for debris. Empty both regularly so leftover fiber becomes a decision, not a permanent pile.