
Blog
How to Teach Drum Carding in a Fiber Workshop
Jul
Quick answer: teach drum carding in a fiber workshop by choosing one clear result, preparing fiber packets before class, demonstrating slow feeding, rotating students through focused roles, teaching batt removal as its own skill, and saving time for cleanup. Students learn more from one controlled batt than from a table overloaded with every possible fiber.
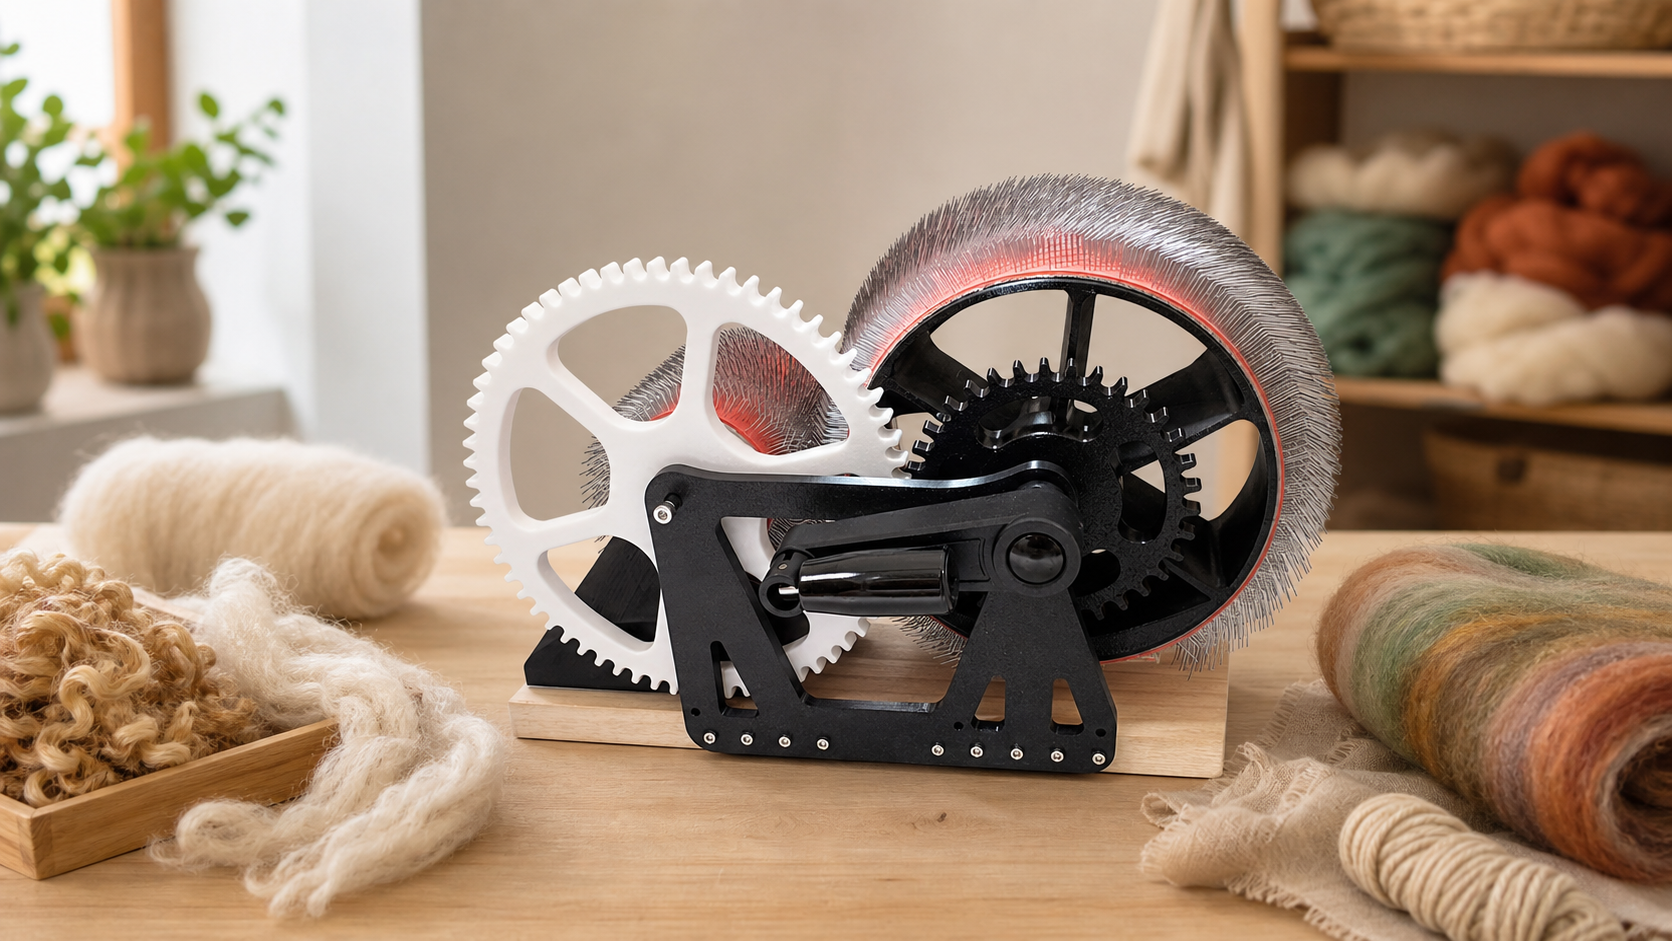
Drum carding is wonderfully visual. Loose wool becomes a batt, color shifts under the hand, and texture turns into design. That visual excitement can tempt a teacher to show too much. A good workshop keeps the process small enough that every student can understand what changed and why.
Define One Workshop Result
Start with a single outcome: a smooth spinning batt, a layered art batt, a breed-study sample, or a felting batt. Do not try to teach all of them in one beginner session. Students need to learn feeding, layering, removal, and evaluation before they compare every possible use.
A clear result also controls materials. If the class makes a small layered batt, each student can receive a similar packet. If everyone brings random stash fiber, the workshop becomes troubleshooting. That can work for advanced students, but beginners usually need structure first.
Prepare Fiber Packets Before Class
Each packet should include a base fiber, one or two colors, and one optional texture. Keep the amounts modest. Small batts teach better than overloaded drums because students can see the effect of each layer and remove the batt without panic.
Label the intended order: base first, color second, texture last. You can still allow choices, but the packet prevents students from putting every beautiful thing into the first pass. For color classes, share the art batt color-layer guide as useful reading.
Demonstrate Slow Feeding Twice
Show the motion once while explaining it, then show it again with fewer words. Students need to see how little fiber enters at a time and how the feeding hand moves across the width. The second demonstration often makes the first one click.
Show one controlled mistake too. Feed a tiny clump and point out what overfeeding looks like, then stop before creating a mess. When students recognize the problem visually, they correct themselves faster.
Use Roles During Rotations
If there is one carder and several students, rotate roles. One student feeds, one watches the layer build, and one records the recipe. Then they switch. Waiting students can tease locks, arrange color strips, write labels, or compare finished samples.
This keeps the whole room active. A good workshop does not make seven people stare at one person using the tool. Observation, note-taking, and preparation are part of the lesson.
Teach Batt Removal Slowly
Do not rush removal. Many students think the session is finished once the drum is full. Slow down and show where to begin lifting, how to support the batt, and how to avoid stretching or tearing it. Batt removal is a skill, not a cleanup detail.
Ask students to inspect the batt after removal. What blended? What stayed visible? Did the base fiber spread evenly? For smoother prep lessons, pair the class with the wool carding guide.
Build In Troubleshooting Time
Reserve time for lumps, hidden texture, uneven color, hard-to-remove batts, and too many ingredients. Keep the tone practical. Students are not failing; they are learning what fiber does when density, motion, and pass count change.
Repeat simple phrases throughout the class: feed lightly, layer intentionally, record the pass, review the batt. Repetition may feel obvious to the teacher, but it gives beginners useful anchors.
Give Students A Comparison Moment
Before cleanup, place several finished batts side by side and ask students what they notice. Which batt kept the color stripe visible? Which one looks smoother? Which one has texture near the surface? This quick comparison turns the class from a demonstration into a decision-making exercise. Students leave with a better eye for their next session.
Let students name one change they would try on a second batt. It might be less fiber, a lighter final pass, more visible locks, or a simpler color pair. That reflection gives them a practical next step instead of a vague feeling that the workshop was fun.
End With Cleanup And Next Steps
Cleanup should be taught while students are still present. Show how loose fiber is cleared, how tools return to the station, and how the carder is protected after use. This matters for home studios and shared guild rooms.
If students ask current product questions, direct them to the DrumCarder Studio Fiber Carder, the homepage, or the contact page. If the class is tied to a purchase deadline, mention the shipping policy and refund and returns policy as practical checks.
Prepare A Clear Drum Carding Demo
Use DrumCarder as the reference point for small workshop batts, repeatable fiber packets, and focused class demonstrations.
FAQ
How long should a beginner drum carding workshop be?
A focused class can work in one to two hours if fiber is prepared in advance and the result is narrow. More time allows comparison and design practice.
How much fiber should each student use?
Use small amounts for first lessons. A modest sample batt is easier to feed, remove, label, and discuss than an oversized batt.
Should students bring their own fiber?
For beginners, prepared packets are usually better. Personal fiber works better in advanced classes where troubleshooting is expected.
What should students take home?
They should take a labeled batt, recipe note, pass count, cleanup reminder, and one clear next experiment to try later.
How do you keep waiting students engaged?
Give them roles: prepare fiber, observe layer placement, write notes, label samples, or compare finished batts while another student uses the carder.