
Blog
How to Add Silk to Wool Batts on a Drum Carder
Jul
Quick answer: add silk to wool batts on a drum carder in small, opened layers so the shine stays visible and the batt still drafts or felts with control. Use wool as the structure, spread silk thinly, add it late when you want sparkle or streaks, and test a strip before making a full batch.
Silk can make wool batts look luminous, but it can also clump, drift, or vanish if handled carelessly. The goal is not to bury silk inside wool until it disappears. The goal is to place it where it adds movement without making the batt slippery or difficult to use.
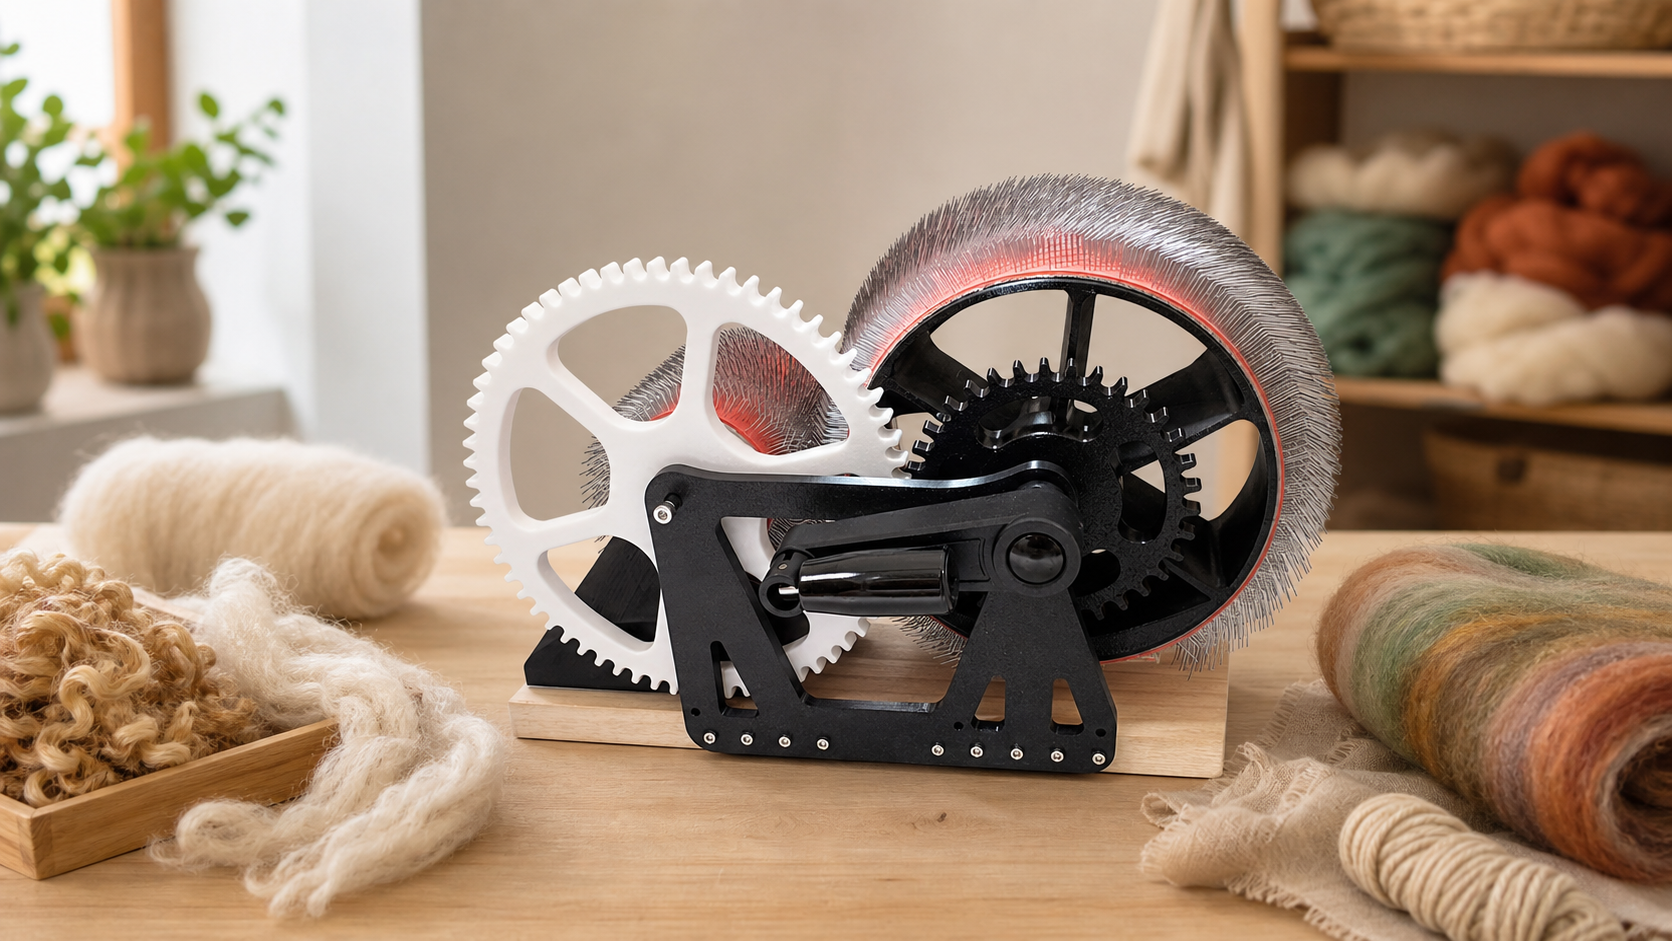
This guide works for silk top, silk noil, sari silk, and similar shiny add-ins, though each behaves differently. If you are setting up a small fiber bench, compare the process with the Studio Drum Carder and your usual spinning or felting goals.
Start With Wool Structure
Wool should carry the batt. It grips, drafts, and supports the silk. Begin with an open wool base before adding shine. If the batt is mostly silk or another slick fiber, it may be harder to control unless you have a specific reason and enough experience with that preparation.
Choose the wool based on the finished use. Fine wool can make a smooth luminous spinning batt. A stronger wool base can support art yarn texture. For felting, test because some silk placements may sit on the surface rather than fully integrating into the felt.
Open Silk More Than You Think
Silk top can enter the carder as a shiny rope if it is not opened. Pull it into thin veils before feeding. Silk noil or sari silk may need to be sprinkled lightly rather than fed in clumps. The thinner the placement, the easier it is to control where the shine appears.
Do not add a thick handful of silk and expect the carder to distribute it evenly. That often creates slippery streaks or lumps. A small amount placed well is more useful than a large amount buried badly.
Add Silk Late For Visible Shine
If you want silk to show, add it after the wool base has begun to build. Lay silk in light strips or wisps across the surface. Cover it with a whisper of wool if it needs help staying connected. One gentle pass can be enough for visible streaks.
If you want a more blended glow, add silk earlier and use another light pass. Just remember that every pass spreads the silk more. Stop when the batt has the shine level you want, not when the surface looks perfectly uniform.
Use Placement For Different Projects
For spinning, place silk in long thin streaks if you want flashes along the yarn. For art yarn, keep silk closer to the surface and combine it with locks or color patches. For wet felting, use silk where it can decorate the surface and test how it attaches. For needle felting, use small amounts because slick shine can be harder to needle into firm detail.
Project use should guide quantity. A scarf yarn may love subtle glow. A wall piece may tolerate bold shine. A functional felted item may need more wool contact for stability.
Lighting matters as well. Check the batt near a window and under your normal work light, because silk can look quiet in one setting and bright in another.
Prevent Clumps And Slippery Drafting
Clumps usually come from adding silk too thickly or failing to open it first. Slippery drafting often means the batt has too much silk for the wool structure or the silk is concentrated in one strip. Fix this by adding more wool base, splitting the batt into lighter sections, or using silk as a surface accent instead of a core ingredient.
Test a narrow strip. If it drafts smoothly and the silk appears where you want it, continue. If it slides apart, reduce silk or change placement. The test takes a minute and can save an entire batch.
Keep Product And Support Checks Practical
A compact drum carder can support silk-and-wool sampling when the workflow is light and deliberate. Review the DrumCarder site, ask fit questions through the contact page, and check the shipping policy plus refund and returns policy before checkout.
Silk work is about restraint. The carder helps place the shine, but your hands decide how much is enough. Start small, make notes, and repeat the blend only after the sample behaves well.
Add Silk To Wool Batts With More Control
Use a careful drum carding workflow to place shine where it helps the fiber project rather than letting it clump or vanish.
View the product: https://drumcarder.com/product/studio-drum-carder/
FAQ
How much silk should I add to a wool batt?
Start with a small amount. Add enough for visible shine, but keep wool as the structure so the batt can draft, felt, or hold together.
Should silk go through the carder first or last?
Add it late when you want visible streaks. Add it earlier only when you want a softer blended glow and are willing to lose some distinct shine.
Why does silk clump in my batt?
It was probably fed too thickly or not opened into thin veils. Pull silk apart before feeding and place it lightly over the wool base.
Can silk be used in wet felting batts?
Yes, but test first. Silk often decorates the surface and may need enough surrounding wool to connect well during felting.
How do I keep silk from making yarn slippery?
Use more wool structure, less silk, and thinner placement. Test a strip before spinning a full batt.