
Blog
How to Sample Fiber Blends Before Making a Full Batt
Jul
Quick answer: sample fiber blends before making a full batt by testing small measured piles, keeping one change per sample, carding each test the same way, and checking the result in the craft it will serve. A few careful mini batts can save dyed wool, luxury fiber, and a whole afternoon of regret.
Blending fiber on a drum carder is satisfying because changes appear quickly. A thin line of dyed wool can soften a base color. A pinch of silk can brighten a batt. A little alpaca can change the way the fiber drafts. That speed is useful, but it also makes it easy to scale a weak blend too soon. Sampling slows the decision just enough to protect the good fiber.
The goal is not to make perfect tiny batts. The goal is to answer practical questions before you commit the full batch: does the color read correctly, does the fiber draft smoothly, does the texture stay visible, and does the blend behave in the finished project?
Start With One Question
A useful sample starts with one question. Try “How much dark wool should I add?” or “Will alpaca make this blend too slippery?” or “Does the blue silk stay visible after two passes?” Do not change color, fiber type, texture, pass count, and feeding style all at once. That gives you an interesting batt, but it does not give you a clear answer.
Write the question before the fiber reaches the carder. If the test is for color, keep the fiber types steady. If the test is for texture, keep the color ratio steady. This simple discipline makes the winning blend repeatable.
Measure Small Samples In A Repeatable Way
A scale is helpful, especially when expensive wool, alpaca, silk, mohair, or naturally dyed fiber is involved. Weigh the base and accent fibers for each sample, then write the amounts on a card. If you do not use a scale, use a consistent measure and photograph each pile before carding. “Three thin strips of cream wool and one light layer of grey alpaca” is better than trusting memory.
Keep samples big enough to judge. A tiny wisp may look pretty but fail to show how the fiber drafts or felts. For spinning, make enough to draft a short length. For wet felting, make enough to felt a small square. For art batts, make enough to see whether texture disappears inside the batt.
Card Every Sample The Same Way
Feed each sample with the same rhythm. Open the fiber first, spread it across the carding width, and avoid forcing clumps into the feed area. Use the same pass count unless pass count is the thing being tested. A sample that gets three careful passes cannot be compared fairly with one that gets one rushed pass.
If you are still working on smooth batt technique, the guide to carding wool into smoother batts is a good companion. Sampling is most useful when the carding method stays steady enough for the fiber differences to show.
Test The Mini Batt In The Real Use
Do not choose from the table view alone. Draft a little if the batt is for spinning. Felt a small patch if the batt is for needle felting or wet felting. Lay the fibers into a color mockup if the batt will become visible texture in weaving. A blend can look rich as loose fiber and still behave poorly in the final craft.
Touch matters as much as color. Fine wool may draft beautifully but lose the strong color contrast you wanted. Alpaca may add softness but reduce grip. Long locks may look dramatic yet catch during drafting. The right sample is the one that performs for the project, not just the one that photographs well.
Compare Samples Under Real Light
Check the samples in daylight and under the light where the finished piece will be used or sold. Warm indoor light can flatten cool colors. Bright window light can make silk streaks look stronger than they will look in evening wear or home decor. Put samples side by side with their labels visible, then photograph the set.
For color-layer work, the art batt blending guide gives more ideas for keeping color placement intentional. The same habit works for plain studio blends: compare the samples as finished material, not only as pretty piles.
Scale Up Without Changing The Method
When one sample wins, scale the ratio, layer order, and pass count together. If the sample used 80 percent wool and 20 percent alpaca with two passes, do not turn the full batt into a heavy feed with four extra passes unless you want a different result. Larger batches often fail because the maker changes the handling while scaling the ingredients.
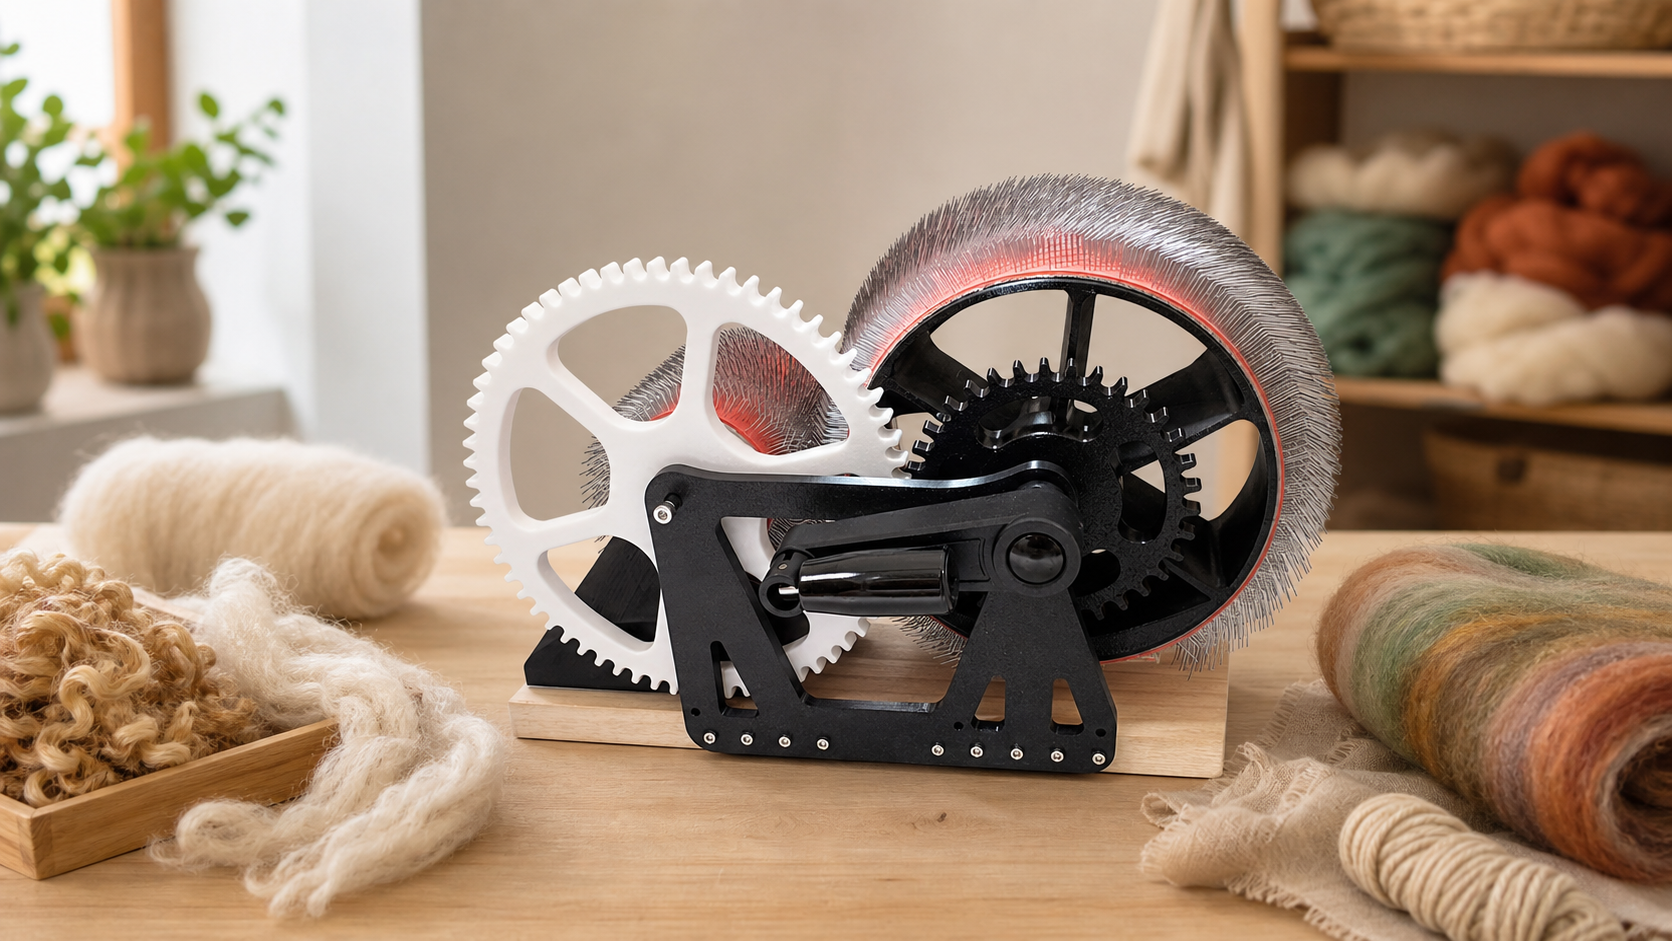
Make several medium batts instead of one overloaded batt if your fiber volume is high. Smaller repeated batts are easier to compare, store, and blend together later. The DrumCarder Studio Fiber Carder is a natural fit for this sample-first studio rhythm because the workflow centers on small batches, clear handling, and repeatable prep.
Keep A Sampling Log
Keep the log simple: date, fiber types, ratio, pass count, carding notes, and final test result. Add one sentence about why the sample won or failed. That note is more valuable than a beautiful unlabeled batt. If you plan to sell finished fiber, the same notes help you describe the blend honestly and answer buyer questions later.
If you need current product details before building a sampling station, start from the DrumCarder homepage and use the contact page for setup questions.
Make Small Blend Tests Before The Full Batt
Use DrumCarder for repeatable sample batts that help you check color, texture, draft, and felting behavior before scaling the blend.
FAQ
How large should a fiber blend sample be?
Make it large enough to test the final use. For spinning, draft a short length. For felting, make a small swatch. For visual art batts, make enough to see color and texture placement.
Do I need a scale for every sample?
A scale is best for repeat blends, expensive fiber, and saleable batts. For casual tests, consistent visual measures plus clear photos can still help.
Should I change pass count while sampling?
Only if pass count is the question. Otherwise keep it steady so you can judge the fiber ratio or color choice fairly.
Why did the full batt look different from the sample?
The full batch may have been fed more heavily, carded longer, or packed tighter. Scale the handling method along with the fiber amounts.
What should I do with failed samples?
Label them with the reason they failed. Some can become texture tests, stuffing, color references, or practice fiber, but they should not drift back into the main stash unlabeled.