
Blog
Drum Carder Setup Checklist After Delivery
Jul
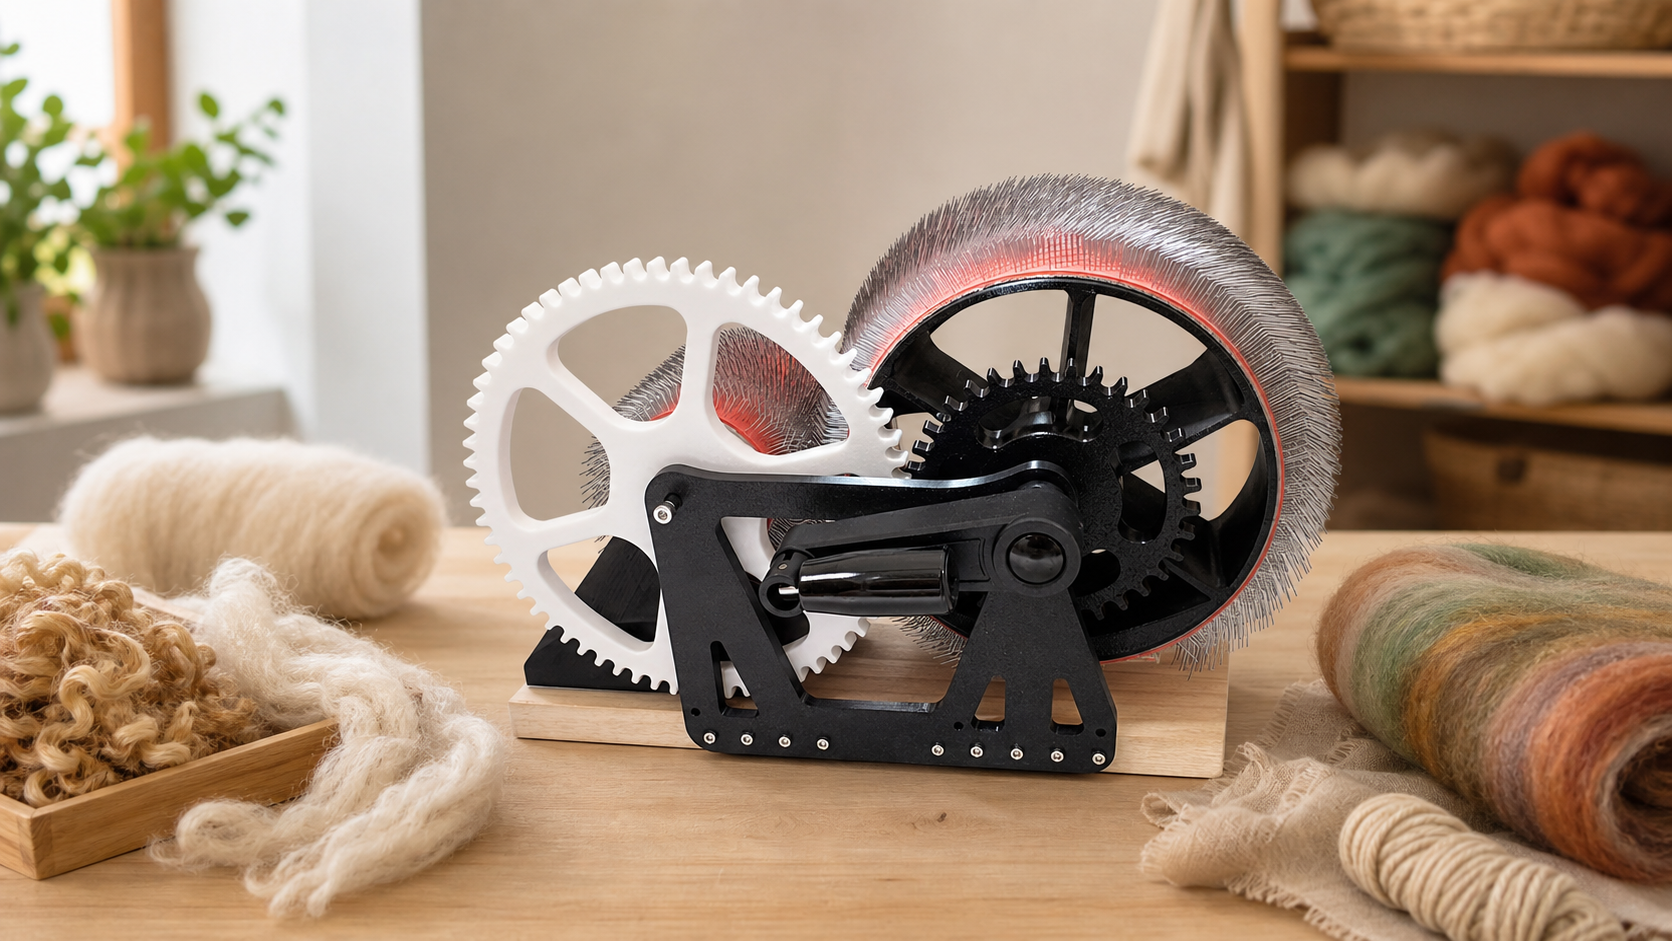
Quick answer: after delivery, set up a drum carder by checking the package, choosing a stable work surface, reading the product details, clearing the feed area, testing with a small amount of clean fiber, and making your first notes before you attempt a full batt. The first session should be slow, light, and boring in the best possible way.
A new carder is exciting, especially when you have fiber waiting. Still, the first hour should not be a production session. It should be a setup session. You are learning how the tool sits on your table, how your hands move, how much room you need, and how the first fiber behaves.
Before Opening: Review The Order Path
Before the package arrives, review the product page and store policies so you know what to check. Keep the Studio Drum Carder page handy, along with the shipping policy and refund and returns policy. If something looks wrong after delivery, it is easier to respond when you already know where the store information lives.
Do not throw away packing materials immediately. Keep them until you have inspected the item and confirmed the basic setup. If you need to ask a question, clear photos and packaging details can help the conversation.
Set The Carder On Its Working Table
Do not test the carder while it is balanced on a bed, box, or crowded counter. Put it where you expect to use it. Leave space for fiber waiting to be fed, your hands, batt removal, and cleanup. If the table wobbles, fix the table before judging the tool.
Lighting matters. You should be able to see the feed area and the drum surface without leaning in. Move drinks, cords, scissors, loose labels, and unrelated craft tools away from the active area.
Sit or stand in the position you expect to use for a full session. If your shoulders are high, your chair is wrong, or the table edge crowds your hands, adjust that now. Comfort is part of setup because tension often turns into rushed feeding.
Inspect Before Feeding Fiber
Look over the visible parts calmly. Confirm that nothing obvious shifted in transit and that the handle or working motion feels normal before adding fiber. If you notice damage or uncertainty, stop and ask before forcing anything.
Use the contact page for product questions. Include your order context, what you observed, and photos if useful. A clear setup question is better than a rushed first session that makes the problem harder to understand.
Run A Tiny First Fiber Test
Your first fiber should be simple, clean, dry, and inexpensive. Use a small amount of opened wool rather than your rare dyed locks or a complex art blend. Feed thin wisps and watch how the batt begins. Stop early, remove the small batt, and inspect it.
If the fiber looks lumpy, the first fix is usually lighter feeding, not more force. The guide to smoother wool batts can help you build that first rhythm.
Keep the first test deliberately small. A handful of fiber is enough to show how your table height feels, whether the lighting is useful, and how easily you can remove the batt. If you learn one setup improvement from that tiny test, it has done its job.
Make A First-Week Routine
During the first week, make three small sessions instead of one giant one. Try a plain wool batt, a two-color blend, and a small project blend. Record fiber type, pass count, what felt easy, and what confused you. This is how the tool becomes part of your studio rather than a mysterious purchase.
Clean gently after each session and store the carder responsibly if your studio is shared. Safety and care habits begin on day one. The guide to drum carder safety tips for home studios is worth reading before a longer session.
Do not judge the purchase from the first imperfect batt. Judge the setup. Was the fiber prepared enough? Was the table clear? Did you feed too much at once? A calm first week turns those questions into useful habits instead of buyer anxiety.
Use A Simple Delivery Checklist
- Keep packing materials until inspection is complete.
- Place the carder on the real work surface.
- Clear the table and improve lighting.
- Inspect visible parts before feeding fiber.
- Test with a tiny amount of plain prepared fiber.
- Record the first result and any support questions.
Start from the DrumCarder homepage whenever you need the main product and support route. A careful first day makes every later batt easier.
Plan A Calm First Session
Review the Studio Drum Carder product page and compare it with your bench, first fiber test, and support questions before setup day.
FAQ
Should I use my best fiber for the first test?
No. Use a small amount of clean, ordinary fiber while you learn the feel of the tool and your feeding rhythm.
What should I do if something looks damaged?
Stop setup, keep packaging, take clear photos, and contact the store with a calm description before forcing any movement.
How much table space do I need?
You need space for the carder, fiber waiting to be fed, batt removal, notes, and cleanup. The tool footprint alone is not the full work area.
How soon should I clean the carder?
Clean gently after the first small test and after every session. Early cleaning habits help you inspect the tool and avoid color carryover.
What should I write down after setup?
Record the fiber used, amount, pass count, table location, lighting, any resistance, and questions you want to ask before a larger project.