
Blog
How to Prepare Batts for Wet Felted Scarves
Jul
Quick answer: to prepare batts for wet felted scarves, card fiber into thin, even, easy-to-pull layers. Plan the scarf length, color direction, and edge behavior before carding. Avoid dense batts, heavy lumps, and overblended color, because wet felting rewards smooth layout more than maximum fiber volume.
A wet felted scarf begins long before soap and water. The batt controls how easily fiber pulls apart, how evenly the scarf layout builds, and whether color transitions stay graceful. A drum carder is useful when you want repeatable layers for a scarf rather than random handfuls from a fiber pile.
Plan The Scarf Before Carding
Decide whether the scarf will be solid, striped, ombre, marled, or softly variegated. Also decide which direction the color should move. A lengthwise gradient needs different batt handling than scattered color across the whole surface. The carder helps most when the color plan is already clear.
Measure the working area where the scarf will be laid out. A scarf needs space for length, shrinkage planning, wet handling, towels, and rolling. If the table is tight, prepare batts in smaller sections that can be laid out with control.
Card For Thin Pullable Layers
Wet felted scarves usually benefit from light, even fiber. A dense batt can create thick patches that resist smooth layout. Feed small wisps and stop before the batt becomes compact. You should be able to pull a translucent layer from the batt without fighting it.
For basic feeding, use the same light habits described in the smoother batt guide. Clean, opened fiber and patient feeding make the later scarf layout much easier.
Check the batt by lifting a corner. If it comes away in soft sheets, you are close. If it tears into ropes or clumps, prepare less fiber at a time.
Make Color Sections You Can Control
If the scarf has a simple color direction, card separate batts for each section. For a blue-to-green scarf, make a blue batt, a blue-green bridge batt, and a green batt. For a warm neutral scarf, make a main body blend and a darker edge blend. Separate batts give you more control than one large mixed batt.
When you want visible movement, avoid too many passes. A single pass can keep color lively. A second pass can soften harsh spots. If you want ombre work specifically, read the guide on making ombre batts on a drum carder before preparing the scarf fiber.
Keep Edge Fiber In Mind
Scarf edges deserve their own fiber plan. Thin edges can become weak or uneven. Heavy edges can look bulky. Card a small amount of edge fiber separately if you want a border, fringe base, or stronger color line. Pull it lightly during layout so it supports the scarf without becoming a rope.
If you use decorative locks or shine, decide whether they belong in the batt or on the surface during layout. Carding them heavily may hide the effect. Placing them later may preserve more texture. Test a small sample before committing to a full scarf.
Sample Before The Full Scarf
Make a small wet felted sample from the actual batts. It does not need to be beautiful. It needs to answer practical questions: does the fiber migrate well, does the color soften too much, does the batt pull evenly, and does the thickness suit a scarf? A sample can save a full afternoon of repair.
Record the fiber, pass count, layout direction, and what changed after felting. Wet felting can shift color and thickness in ways that are hard to predict from a dry batt alone.
Use the sample to check hand feel too. A scarf sits against skin, so a batt that works for a wall hanging may still feel too heavy or textured for wear. If the sample feels stiff, prepare thinner layers or reduce dense accent areas before making the full scarf.
Sampling also shows whether the colors stay balanced after water, soap, pressure, and shrinkage. Pale colors can disappear next to deep accents. Strong stripes can become more dramatic than expected. Adjust the next batt while the lesson is fresh.
Connect The Tool To Your Studio Routine
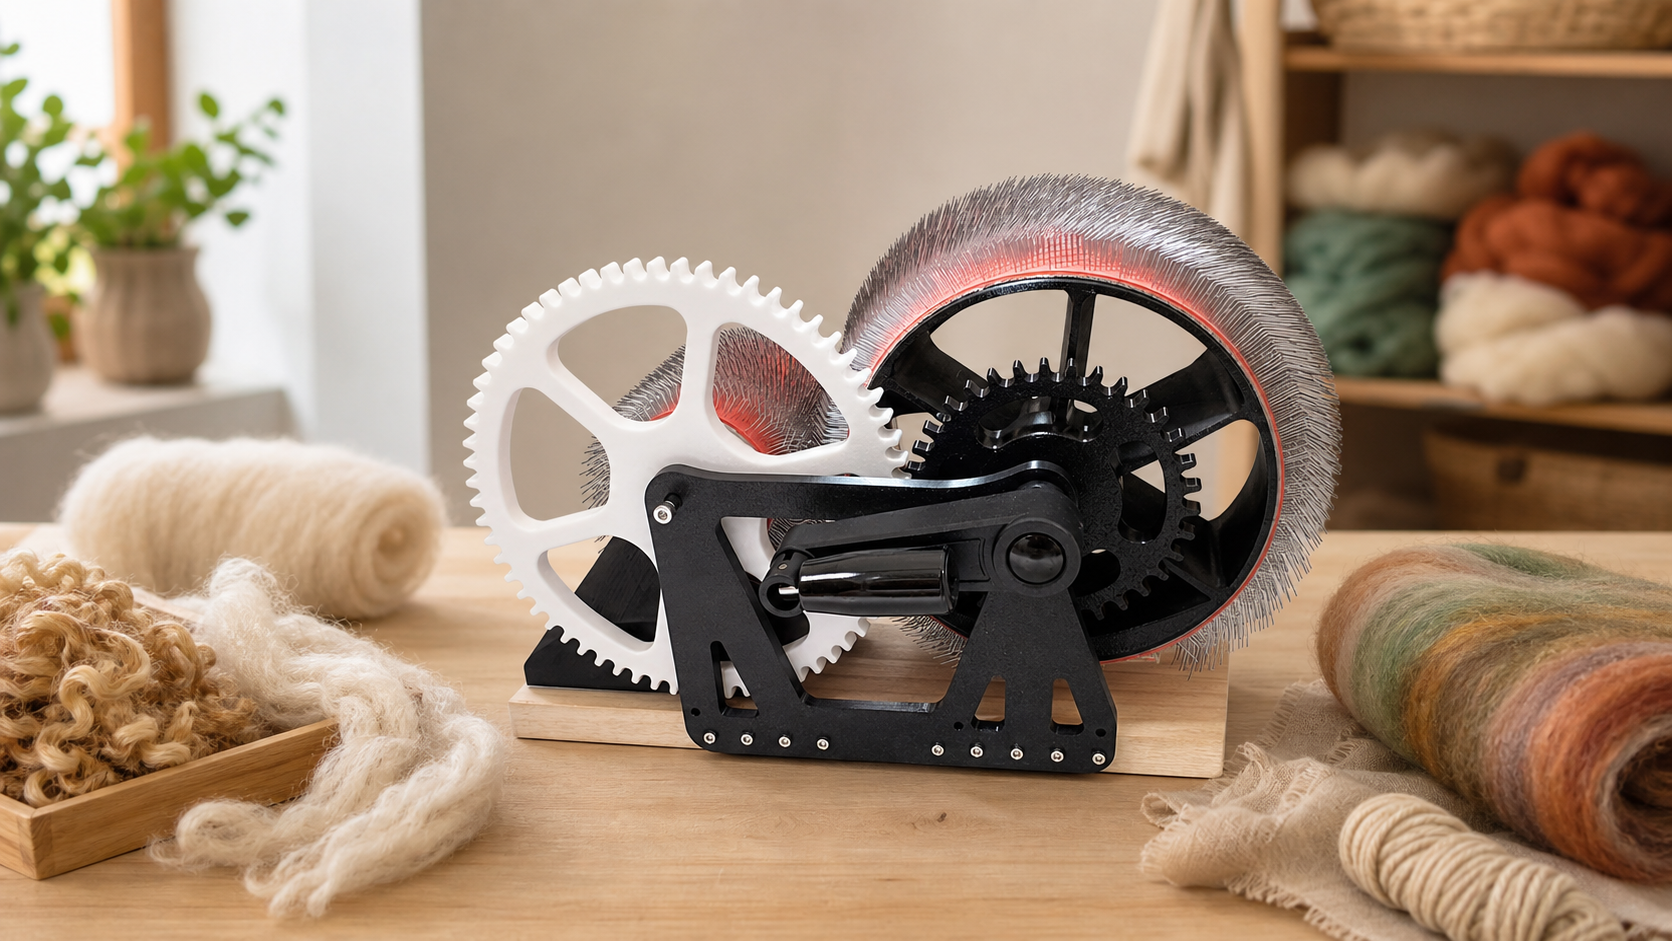
The Studio Drum Carder can support small-batch scarf prep when you want cleaner batts, repeatable color sections, and a calmer setup before wet work begins. Start from the DrumCarder homepage if you want the broader product path.
Before ordering, review the shipping policy and refund and returns policy. If you have a product setup question, use the contact page and describe the kind of scarves and fibers you plan to prepare.
Prepare Smoother Scarf Layers
Review the Studio Drum Carder for small-batch scarf batts, color sections, wool prep, and repeatable wet felting layouts.
FAQ
Should scarf batts be thick or thin?
Thin, even batts are easier to pull into layout layers. Thick batts can create heavy patches unless the project specifically needs that texture.
How many passes should scarf fiber need?
Often one or two light passes. Use one when color movement matters and two when the fiber needs smoother distribution.
Can I use ombre batts for wet felted scarves?
Yes. Keep the color order clear and test a small sample because wet felting can soften transitions and shift the visual balance.
Should decorative locks be carded into the batt?
Only if you want them softened into the blend. If you want strong surface texture, place some locks during layout instead of carding them heavily.
What should I test before making the full scarf?
Test thickness, color movement, edge behavior, and how easily the batt pulls into thin layers. A small felted sample is more reliable than guessing.