Blog
How to Blend Fiber for Needle Felted Animals
Jul
Quick answer: to blend fiber for needle felted animals, prepare small color batches for the animal’s body, shadows, highlights, markings, and tiny details. Use a drum carder for repeatable, softly mixed batts, but keep each color family separate so the finished animal has shape instead of one flat coat color.
Needle felted animals often fail visually because the fiber colors are too plain. Real fur, fleece, feathers, and skin have shifts: warm shadows under the belly, pale edges on ears, darker muzzles, soft transitions around paws. A drum carder can help create those subtle mixes in small batches so you are not pulling random bits of fiber while sculpting.
Think In Animal Zones
Do not begin with one big blend. Begin with zones. A fox might need body orange, chest cream, ear dark, leg shadow, and tail highlight. A sheep might need warm body wool, face gray, hoof dark, and a few lighter surface wisps. A rabbit might need three browns plus a pale belly shade.
When you name the zones first, you can card each blend with a job. The body blend can be soft and forgiving. The shadow blend can be slightly darker and more muted. The highlight blend should be small because highlights are easy to overuse.
Choose A Base Fiber For Structure
Needle felting needs fiber that will compact and hold form. A batt for surface color can be airy, but the fiber still needs to behave under the needle. Keep your color blends small until you know how they felt. If a mix becomes too slippery, too long, or too decorative, reserve it for the surface instead of the inner shaping layers.
The beginner fiber prep terms guide can help if words such as batt, locks, teasing, pass count, or overcarding still feel fuzzy. Needle felting becomes easier when you understand what the carder is preparing.
Blend Less Than You Think
For needle felted animals, slightly varied fiber often looks more natural than a perfectly even blend. One light pass can create a soft mix while leaving tiny color movement. A second pass may help if the fiber is streaky or if the animal needs a smoother coat. More passes can make the color too uniform.
Try this small routine: card the body blend once, pull a small tuft, felt a test patch, then decide. If the patch looks lively and needles well, stop. If the color looks stripy in a distracting way, split the batt and give it one light return pass.
Make A Marking Kit
Animal markings work best when they are prepared separately. Card a tiny dark blend for noses, eye patches, ears, hooves, or tail tips. Card a pale blend for bellies, cheeks, chests, and highlights. Store each in a labeled bag or paper wrap so the sculpting session stays calm.
This kit approach prevents the common mistake of adding all color variation to the main body batt. If every shade enters the body blend, you lose the ability to place expression later. Keep details separate until the animal has its shape.
Use The Carder For Repeatable Sets
If you make several animals for a market, class, or gift set, repeatability matters. Weigh or visually divide your fiber before blending. Write down the body color, the shadow add-in, the number of passes, and any special marking colors. The notes do not need to be fancy. They only need to help you make the second rabbit look related to the first.
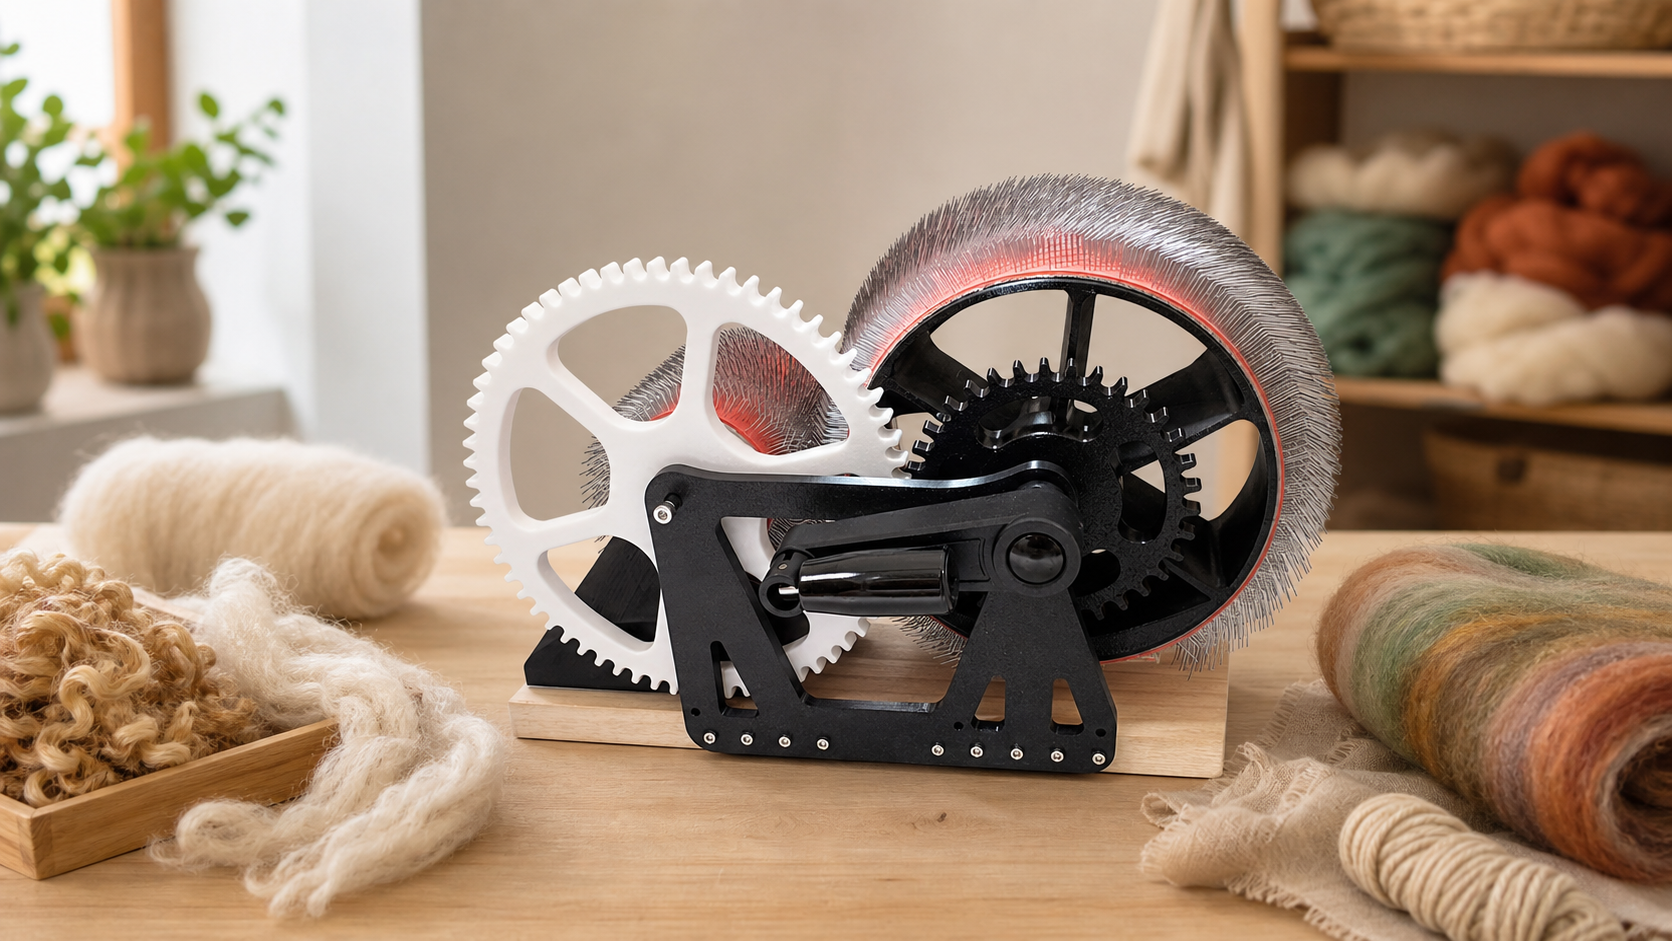
A compact tool can fit this kind of small-batch work well. Review the Studio Drum Carder if you want a carding setup for wool, alpaca, art batts, and small color batches. The homepage gives the broader product path.
Repeat sets also help when you teach. Students can focus on shaping and needle control when the fiber colors are already sorted into clear jobs. Prepare a body blend, a shadow blend, and a detail blend for each student instead of handing over one confusing mixed pile.
Buying And Setup Checks
Before buying any fiber prep tool, ask whether your work is occasional or repeatable. If you make one tiny animal every few months, hand mixing may be enough. If you prepare animal colors often, teach workshops, or sell kits, a carder can save time and make the color system easier to repeat.
Check practical pages too. The shipping policy and refund and returns policy help you understand the buying path. Use the contact page for product questions before checkout.
Prepare Better Animal Color Batches
Compare the Studio Drum Carder with your needle felting workflow for small, repeatable body, shadow, highlight, and marking blends.
FAQ
Can I use drum carded batts for needle felting?
Yes. Drum carded batts can be useful for surface color, body blends, shadows, and repeatable project kits when the fiber felts well under the needle.
Should animal colors be fully blended?
Not always. Slight variation often looks more natural. Fully blended fiber can make a felted animal look flat unless the sculpting supplies shape and contrast.
How much fiber should I card for details?
Very little. Noses, ears, paws, spots, and highlights use small amounts. Card tiny batches and keep them separate from the main body blend.
Can alpaca work for needle felted animals?
It can be used thoughtfully, often as a soft surface effect. Test a small patch first because different fibers felt and hold shape differently.
What should I record for repeat animals?
Record fiber colors, rough proportions, pass count, and where each blend is used on the animal. Photos of the fiber batches help too.