
Blog
How to Remove a Batt From a Drum Carder Cleanly
Jul
Quick answer: remove a batt cleanly by stopping before the drum is overloaded, opening the separation line carefully, lifting the batt with even pressure, and supporting the sheet as it comes away. A clean removal starts during feeding; if the batt is too dense, uneven, or wrapped into the teeth, doffing becomes harder than it needs to be.
A beautiful batt can still be frustrating if it tears during removal. Ragged edges, stretched centers, and clumps left in the cloth usually come from the session before the doffing step. The good news is that small habits make a large difference. Feed lightly, watch the edges, and plan where the batt will land before you start taking it off the drum.
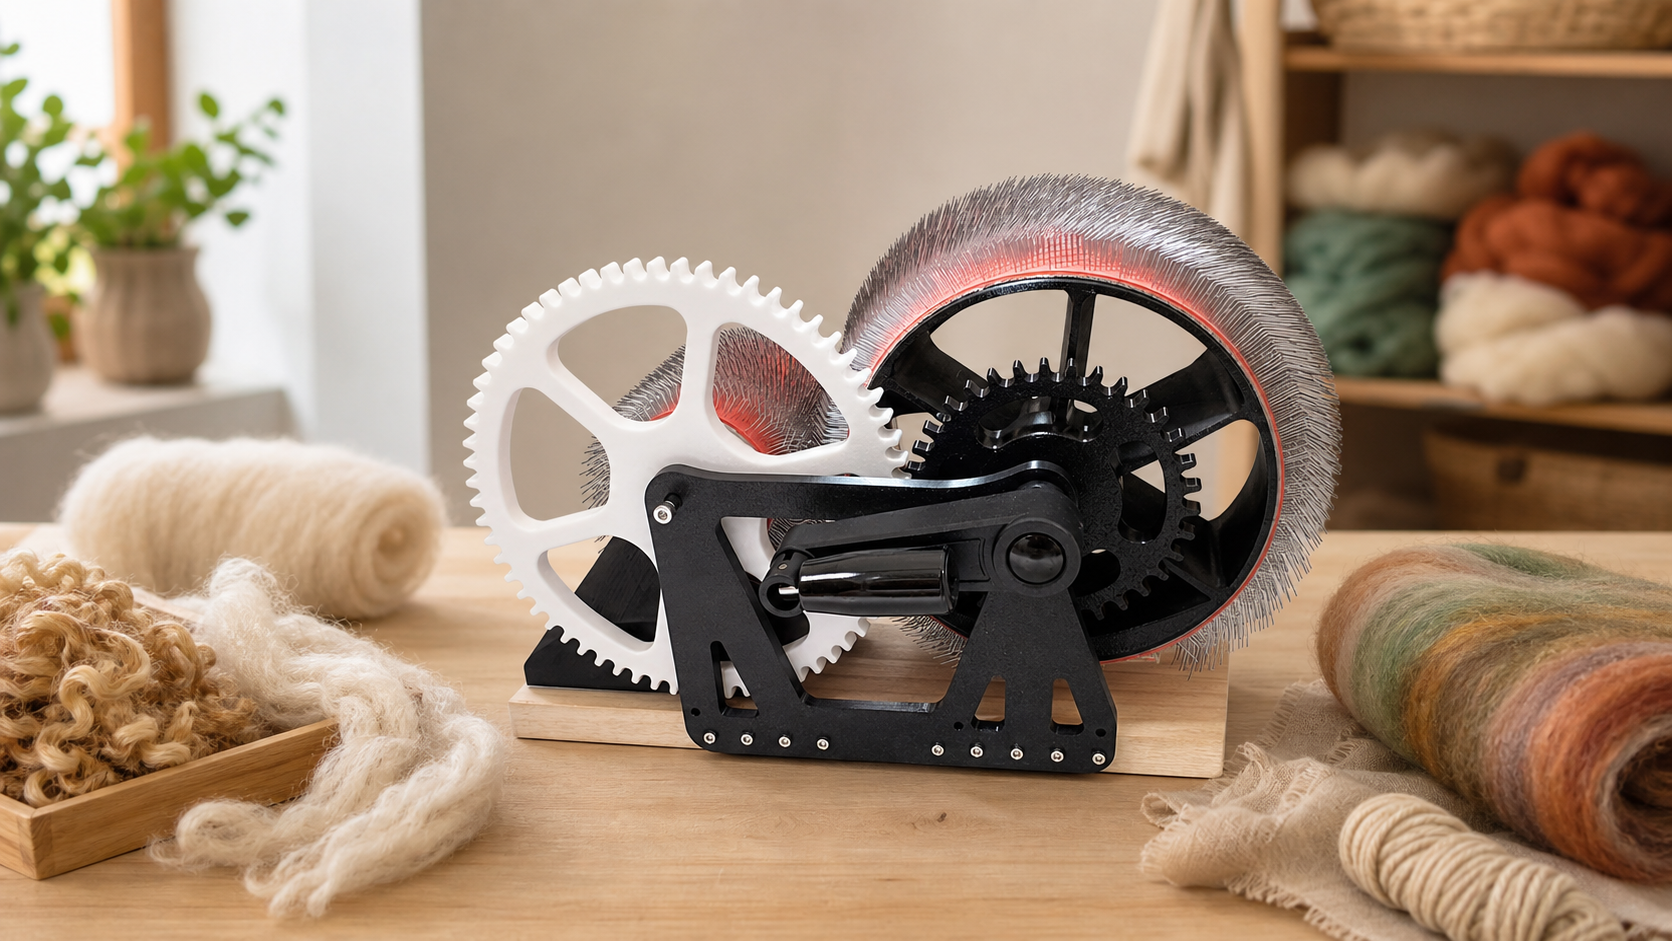
Use this guide with the Studio Drum Carder product page if you are learning the full workflow from fiber prep to storage. Clean removal protects both the batt and the next project.
Stop Before The Drum Is Packed
The easiest batt to remove is one that has not been overfilled. If the fiber is packed tight, removal tools and fingers have to work harder. Dense areas may cling to the cloth, while lighter areas pull away too quickly. Stop when the batt is full enough for your project, not when every possible space is stuffed.
Watch for warning signs during carding. If the handle feels harder, edges thicken, or fiber starts riding unevenly, the drum may be near its practical limit for that fiber. A slightly smaller batt that removes cleanly is often more useful than a larger batt that tears.
Prepare The Landing Area
Before you open the batt, clear the table. Loose tools, scissors, yarn scraps, and fiber piles can catch the sheet as it comes off. Place a clean cloth, tray, or paper nearby if the batt needs to stay in order. This is especially helpful for gradient batts, color-zoned felting batts, or art batts with surface texture.
If you plan to roll the batt, know which edge will start the roll. If you plan to strip it for spinning, keep the direction visible. Clean removal is not only about avoiding tears; it is about preserving the way you intend to use the fiber.
Open The Separation Line Slowly
Most drum carding workflows have a point where the batt can be opened along the cloth. Work slowly at that line. Lift a small section first, then widen the opening. Do not yank the whole batt from one corner. That twists the sheet and can leave clumps behind.
If a section resists, pause. The fiber may be too dense, wrapped, or caught in a textured add-in. Gently loosen that area instead of pulling harder. This is where patience saves the batt. Forcing the fiber may bend texture out of place or create a thin center.
Support The Batt As A Sheet
As the batt comes away, support it with both hands. Let the sheet move naturally instead of hanging from a narrow edge. A batt full of wool, alpaca, silk, locks, or sparkle may have areas with different weight and grip. Supporting the whole sheet prevents the heavy sections from stretching the lighter ones.
For very delicate batts, roll as you remove. For textured art batts, keep the decorated side visible and avoid pressing it flat. For smooth spinning batts, keep the sheet open enough that you can inspect thick edges before storage.
Fix Small Problems Before Storage
After removal, look at the batt. Are the edges thick? Is the center thin? Did a few fibers remain on the drum? Make notes while the session is fresh. Thick edges may mean your feeding favored the sides. A torn spot may mean the batt was too dense or the removal line was rushed.
Do not crush the batt to hide flaws. If it is for spinning, strip it thoughtfully and set aside uneven parts for sampling. If it is for felting, use thinner areas where transparency is acceptable and thicker areas where structure is useful. A clean removal gives you choices.
Clean The Drum For The Next Batt
Once the batt is off, clear leftover fiber from the cloth. This is especially important before changing from dark fiber to light fiber or from sparkle to a smooth batt. A few seconds of cleaning protects the next project and makes the carder easier to use.
If you are comparing tools, consider how easily you can picture this whole process. The DrumCarder site, contact page, shipping policy, and refund and returns policy are part of a practical buying check. A carder should fit your hands, bench, and cleanup habits.
Make Batt Removal Part Of The Buying Decision
Review the product and imagine feeding, removing, cleaning, and storing the batt in your real workspace.
View the product: https://drumcarder.com/product/studio-drum-carder/
FAQ
Why does my batt tear when I remove it?
It may be too dense, unevenly fed, opened too quickly, or pulled from one corner. Try a lighter batt and support the sheet as it comes off.
Should I roll the batt while removing it?
Rolling can help delicate batts stay organized, especially if they will be stored or spun in order. For art batts, avoid flattening visible texture.
What if fiber stays stuck on the drum?
Remove leftover fiber gently after the batt comes off. If a section repeatedly sticks, check whether you are feeding too heavily or using fibers that need more preparation.
Can I remove a very thick batt cleanly?
Sometimes, but thick batts are harder to control. For most home workflows, a slightly lighter batt is easier to remove, inspect, and use.
How do I preserve a gradient during removal?
Clear the landing area first, support the whole sheet, and roll or fold it in the direction that keeps the color order visible.