
Blog
Bench Space Checklist for a Drum Carder Setup
Jul
Quick answer: a bench space checklist for a drum carder setup should cover the tool footprint, hand motion, fiber staging, batt removal, lighting, cleanup access, storage, and whether the station can stay stable during real carding. Plan the working path around the carder, not just the place where it sits.
It is easy to measure a table and think the problem is solved. Then the first batt teaches a different lesson: the fiber tray has no place to sit, the finished batt lands on scraps, the light misses the drum, and the handle or feed motion feels cramped. Bench space is about movement, not only square inches.
Use this checklist before buying, rearranging, or moving a carding station. It helps you see the whole workflow from fiber pile to labeled batt.
Measure The Footprint And Add Working Room
Start with the size of the carder, then add space for the way you will use it. Leave room in front for feeding fiber, room to the side for current blend trays, and room for finished batts to land without being crushed. If the tool uses a handle, check the turning path. If you stand while carding, check elbow space.
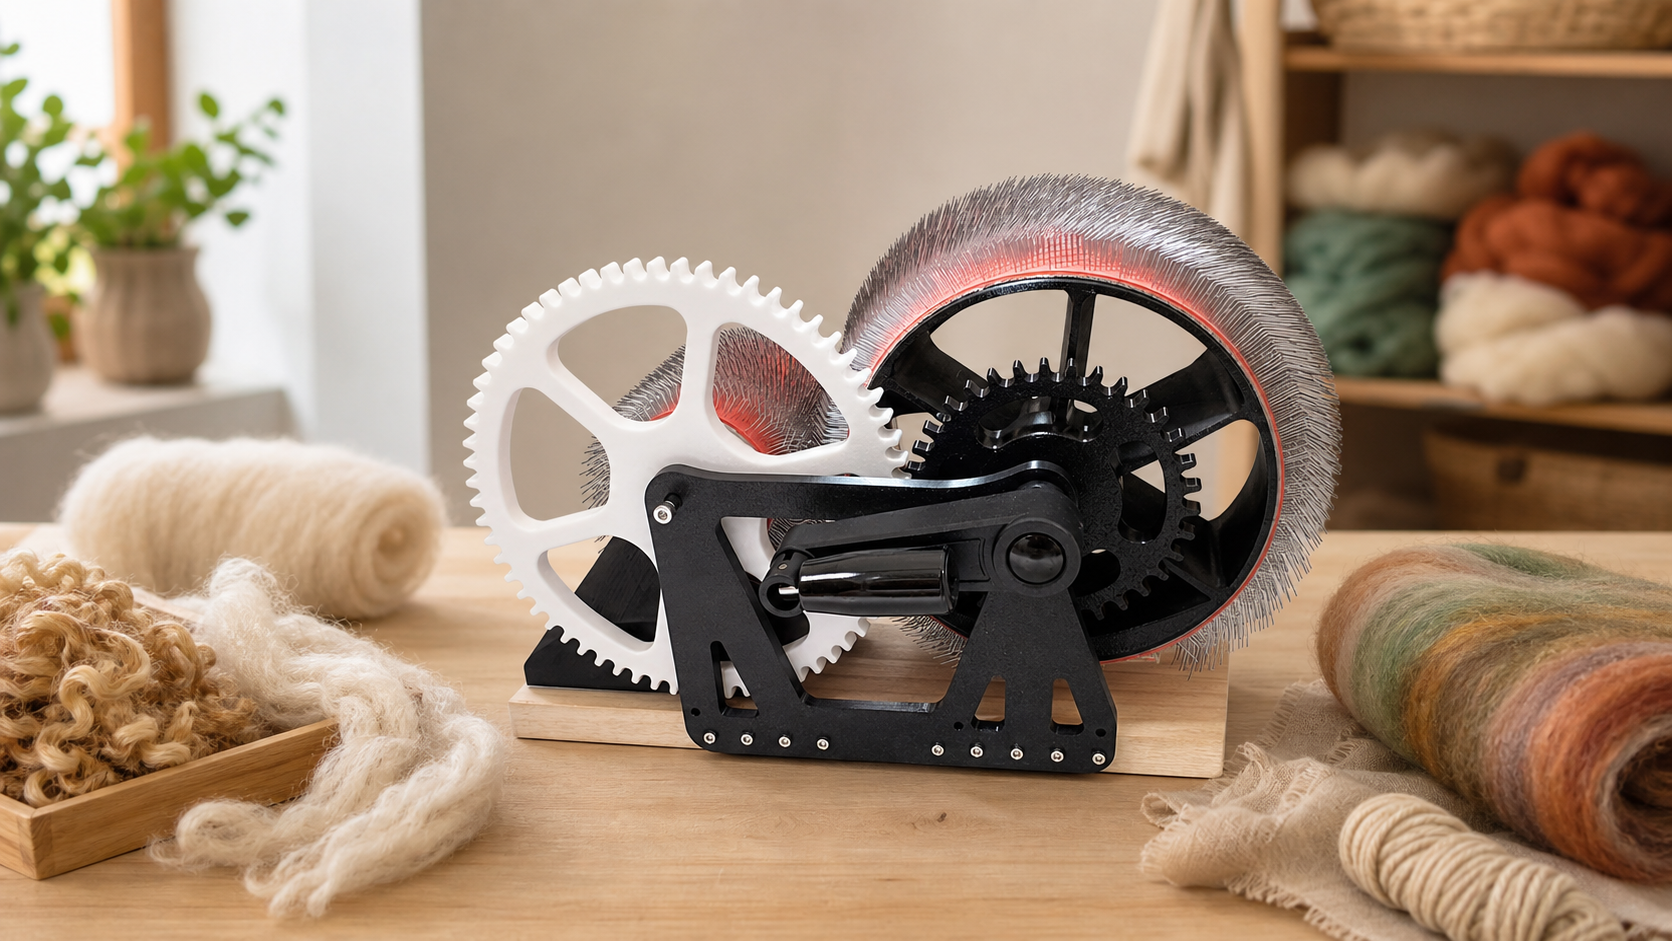
If current dimensions or included items are not clear, ask before buying. A bench plan should be based on the tool you will actually use, not a guess from a small photo.
Check Surface Stability
The surface should stay steady while you feed fiber and remove batts. A folding table may work for sorting, but it can feel frustrating if it rocks during carding. A heavy desk may be stable but too cluttered. Clear enough space so the carder sits squarely and does not drift toward the table edge.
Height also matters. Your shoulders should stay relaxed, and your wrists should not bend awkwardly. Carding is repetitive; a poor height turns a short session into a strain.
Plan Fiber Staging
Give each stage a place: opened fiber, current blend, finished batt, usable scraps, and waste. Without containers, the bench becomes one mixed surface. That creates color contamination and makes it hard to tell whether a loose bit belongs in the blend or in the trash.
For textured work, add extra trays for locks, accent colors, and add-ins. For fine spinning prep, keep the staging cleaner and more restrained. A bench can support different kinds of work, but only one session should be open at a time.
Leave A Clean Landing Area For Batts
Batt removal needs space. You should be able to lift the batt evenly, inspect it, label it, and set it down without crossing over unpicked fiber. A finished batt should not land beside coffee, dye tools, scissors, or a pile of debris.
Good lighting belongs here too. Thick ridges, thin edges, and color streaks are easier to see before the batt is rolled. If the bench is deep but dark, add a lamp before deciding the setup is finished.
Make Cleanup Reachable
Cleaning tools, a scrap bowl, and a waste container should sit close enough that you actually use them. Follow the care guidance for your specific carder. Avoid storing cleaning items in a cabinet that makes reset feel like a separate chore.
If you switch between pale wool, dark fiber, alpaca, and textured art batts, cleanup matters even more. The guide to art batt blending with a drum carder shows why small bits of color and texture can follow the next project if the bench is not reset.
Use A Dry Check Before The First Full Batch
Before carding a full batch, walk through the whole motion with a small amount of practice fiber. Where does the opened fiber sit? Where does your elbow go? Can you reach labels without moving the batt? Can the finished fiber be stored without crossing the dirty side of the bench?
This check takes minutes and prevents annoying fixes later. Move the tray, raise the light, clear the shelf, or change chair height before valuable fiber reaches the carder.
Bench Space Checklist
- Footprint: carder fits with room on all working sides.
- Motion: feeding, turning, removal, and inspection feel natural.
- Stability: the table does not wobble or slide.
- Fiber staging: opened fiber, current blend, batts, scraps, and waste each have a place.
- Light: the drum and finished batt are easy to inspect.
- Cleanup: reset tools are close and realistic to use.
- Storage: the carder and batts have a safe home between sessions.
Plan For Temporary Stations
Not every maker has a permanent bench. If your station is temporary, store it as a kit: carder, cover, trays, labels, pen, scrap bowl, and approved care tools. A kit keeps setup from stealing the whole making window.
Review the DrumCarder Studio Fiber Carder and the DrumCarder homepage when planning your bench. For size, setup, or care questions that affect your station, use the contact page. Shipping and return details also belong in the buying check, so keep the shipping policy handy while planning.
Check Your Bench Before You Buy
Use DrumCarder for focused small-batch fiber prep when your bench has room for the tool, the fiber, and the full carding workflow.
FAQ
Is the carder footprint the only measurement I need?
No. You also need space for hand motion, fiber staging, batt removal, labels, inspection, cleanup, and storage.
Can I use a folding table for a drum carder?
Only if it stays stable while you work. If it wobbles or shifts, use a sturdier surface or support the table better.
Where should finished batts go on the bench?
Give them a clean landing area with labels nearby. They should not land on unpicked fiber, scraps, food, or dye tools.
What if my carding station has to move?
Use a kit with trays, labels, a cover, and storage bins. Pack the same items together so setup and cleanup stay predictable.
How much light do I need?
Use enough light to see clumps, thin spots, and color changes on the drum and in the finished batt before you roll it.