
Blog
Drum Carder Workflow for Wet Felting Layouts
Jul
Quick answer: a drum carder workflow for wet felting layouts should produce wide, thin, easy-to-shingle fiber sheets rather than dense spinning batts. Card lightly, remove the batt carefully, then divide it into transparent layers that can overlap on the table without ridges, ropey edges, or hidden thick spots.
Wet felting rewards even preparation. A small lump in the layout can become a raised patch after soap, water, pressure, and shrinkage. A thin area can become weak or transparent. The goal is not to make a beautiful batt for display. The goal is to make fiber that behaves well when spread across a scarf, vessel, sample square, wall piece, or nuno base.
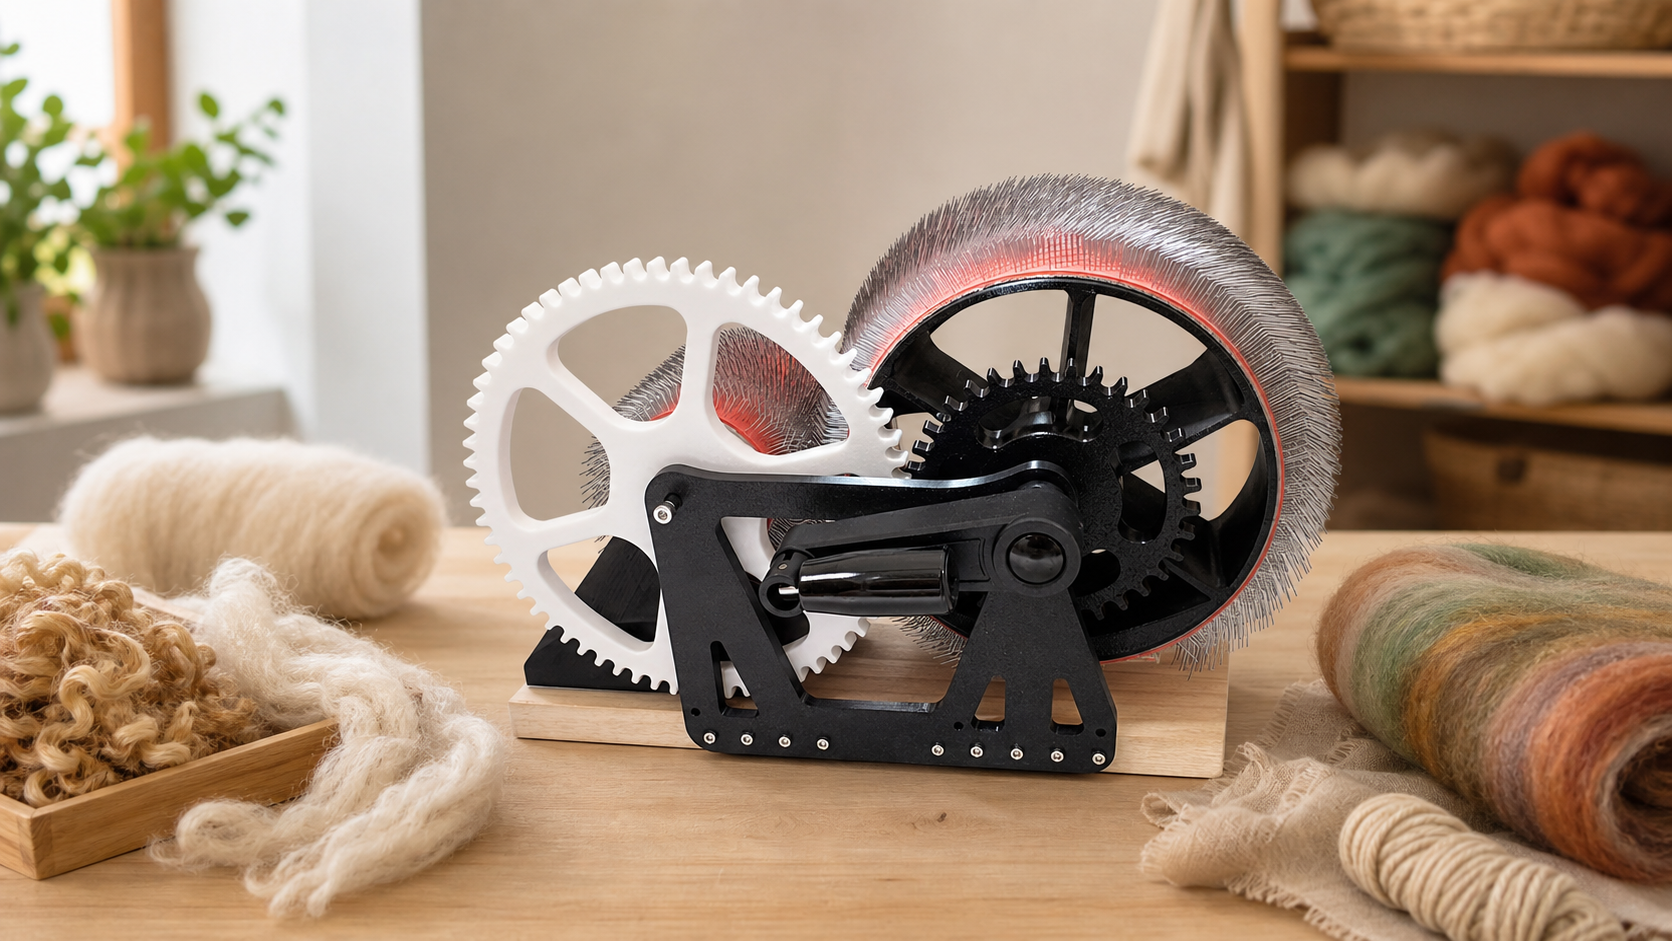
This guide focuses on workflow, not a single finished project. If you are choosing a tool for regular fiber prep, compare these steps with the Studio Drum Carder, then review the shipping policy and support pages before ordering.
Decide Whether You Need Sheets, Strips, Or Color Fields
Wet felting layouts are not all the same. A scarf may need long, feathered strips. A vessel may need even base layers that wrap around a resist. A picture panel may need controlled color fields. Before you feed the carder, decide what shape the fiber should take when it reaches the table.
For a broad base, make a simple batt with consistent fiber. For painterly color, keep related shades in sections. For a nuno layout, card lightly and plan to pull the batt into very fine webs. If you start with the layout shape in mind, you will avoid making a batt that looks good in your hand but fights you on the felting table.
Feed Thinly To Avoid Hidden Ridges
The biggest carding mistake for wet felting is feeding too much fiber at once. Heavy feeding creates compressed streaks that are hard to see until the layout gets wet. Feed small wisps across the width and let the drum build slowly. If a section looks dense, pause and even it out before adding more.
Use fewer passes than you might for a spinning prep. Wet felting does not always need perfect blending. It needs fibers that can be opened and spread. One careful pass can be better than three passes that turn the batt into a ropey sheet with no clear direction.
Remove The Batt Without Compacting It
When the batt comes off the drum, handle it like a delicate sheet. Pulling hard, rolling tightly, or pressing it flat can undo the open structure you just made. Keep the batt loose. If you need smaller sections, divide it by gently drafting the edges apart rather than cutting thick chunks.
For wide projects, it can help to remove the batt and immediately separate it into several thinner veils. Lay those veils in the same direction first, then cross the next layer if the project needs strength in both directions. The point is to control thickness before water touches the fiber.
Use Shingling For Smooth Coverage
Shingling means overlapping thin pieces like roof tiles. It is one of the simplest ways to turn a carded batt into a wet felting layout. Pull a light section from the batt, place it on the table, then overlap the next section slightly. Keep the overlap consistent. Large overlaps create ridges. Gaps create weak spots.
For scarves and flat panels, work in rows. For round forms, rotate the work and keep the edges feathered. For nuno felting, use even lighter pieces so fabric can still show through. A carded batt gives you a calmer starting point, but your hands still make the final layout decisions.
Keep Decorative Fibers On Purpose
Silk, locks, sparkle, and mixed colors can all work in wet felting, but they should be placed with intention. If you card them deeply into the batt, they may disappear. If you leave them only on top, they may need careful rubbing or trapping with wool to stay connected. Decide whether the decorative fiber belongs inside the structure or on the visible surface.
For surface marks, card a plain base batt first, then add decoration during layout. For soft color movement, add small amounts during the last light pass. Testing a small square before a large project is worthwhile because wet felting changes the look and density of the fiber dramatically.
Use The Carder As A Prep Station, Not The Whole Process
The Studio Drum Carder product page is useful to review if you want a dedicated prep tool for repeated wool and fiber layout sessions. A drum carder can help you build more consistent base material, especially when hand spreading from roving feels slow or streaky. It does not replace layout judgment, shrinkage testing, or careful wetting.
If you have questions about whether this setup fits your project scale, use the contact page. Ask practical questions about your fiber, table routine, and order needs. A good wet felting tool should make the beginning of the session smoother, not add a new complication.
Prepare Cleaner Wet Felting Layouts
Use a focused carding workflow to make thin, controllable fiber layers before the wet felting session begins.
FAQ
Should wet felting batts be dense or airy?
They should usually be airy enough to pull into thin sheets. Dense batts are harder to shingle evenly and can create thick places in the finished felt.
How many carding passes are best for wet felting layouts?
Start with one careful pass and test the batt by pulling it into a veil. Add another pass only if the fiber is still too streaky or clumpy for the layout.
Can I card silk or locks into wet felting fiber?
Yes, but use small amounts and decide whether they belong inside the batt or on the surface. Some decorative fibers need wool around them to attach well during felting.
Why does my wet felt have ridges after layout?
Ridges often come from heavy carder feeding, thick pulled sections, or uneven overlaps. Feed thinner, split the batt into lighter veils, and check the table before wetting.
Is a drum carder necessary for wet felting?
No. Many makers lay out fiber by hand. A drum carder is worth considering when you repeat similar layouts, prepare larger sessions, or want more control over base layers.