
Blog
How to Build a Small Fiber Prep Kit Around a Drum Carder
Jul
Quick answer: build a small fiber prep kit around a drum carder with clean fiber storage, a stable work surface, a notebook, labels, a simple measuring method, safe cleaning tools, sample bags, and enough open table space for feeding and batt removal. The best kit supports the carder without turning your studio into clutter.
A drum carder is the center of the workflow, but it is not the whole workflow. Fiber needs to be sorted, opened, staged, tested, labeled, stored, and cleaned up. A small kit makes those steps easier so every session does not begin with searching for scissors, bags, notes, or a clear table.
Start With The Work Surface
The first kit item is not a tool. It is a stable surface. You need room for the carder, fiber waiting to be fed, finished batts, notes, and cleanup. A small table can work if it is stable and clear. A crowded table makes every other tool harder to use.
Think in zones: raw or prepared fiber on one side, carder in the center, finished batt area on the other side, and notes within reach. The setup does not need to be large. It needs to be predictable.
If the table has to be shared, use a tray or shallow bin for the kit. At the end of the session, the tray can hold labels, notes, sample bags, and cleaning tools while the carder is covered or stored. A movable kit helps small homes stay workable.
Add Fiber Storage That Matches Your Projects
Use bags, bins, or boxes that keep fiber clean and separated by type, color, and project. Label small amounts clearly. If you work with wool, alpaca, dyed locks, and decorative add-ins, separation prevents accidental color carryover and mystery blends.
Keep a small “test fiber” bag too. Plain practice fiber is useful for first sessions, setup checks, and pass-count experiments. Save special fiber for projects where it will be visible.
Storage should follow your real habits. If you prepare animal colors, sort by body, shadow, and detail. If you make scarf batts, sort by section or palette. Labels work best when they match the way you think during a project.
Use Simple Measuring And Note Tools
A small scale can help if you sell batts or repeat blends, but a notebook is just as important. Record fiber type, color order, pass count, and project purpose. Use sticky labels or tags for batts that need to be stored before use.
If your goal is repeatable prep, read how to make fiber prep more repeatable. A kit only works when it makes notes easy enough to use during a normal session.
Keep the writing tool attached to the kit if possible. Notes that require leaving the table often do not happen. The best system is the one that stays within arm’s reach.
A pencil on a string may look humble, but it can save the blend you finally got right.
Simple wins.
Keep Cleaning Tools Deliberate
Cleaning tools should be appropriate for the carder and used gently. Avoid grabbing random sharp objects from the craft drawer. Keep cleaning supplies together so the end of the session is quick, calm, and consistent.
Cleaning is part of the kit because leftover fiber affects the next batt. Dark fiber, sparkle, and fine fibers can travel into later projects. A quick reset protects both color and handling.
Build Around Real Use Cases
A kit for needle felted animals might include tiny bags for body, shadow, highlight, and marking blends. A kit for wet felted scarves might include layout notes and color-section labels. A kit for shop batts might include weight notes, batch tags, and photo cards.
The kit should not be a general craft supply museum. Each item should help you prepare, card, record, clean, or store fiber. If an item never helps those steps, move it away from the carding table.
Review the kit after a few sessions. Keep the items you reached for repeatedly. Remove the ones that stayed untouched. A good small kit earns its place through use, not through the promise that it might be helpful someday.
Choose The Carder After You Picture The Kit
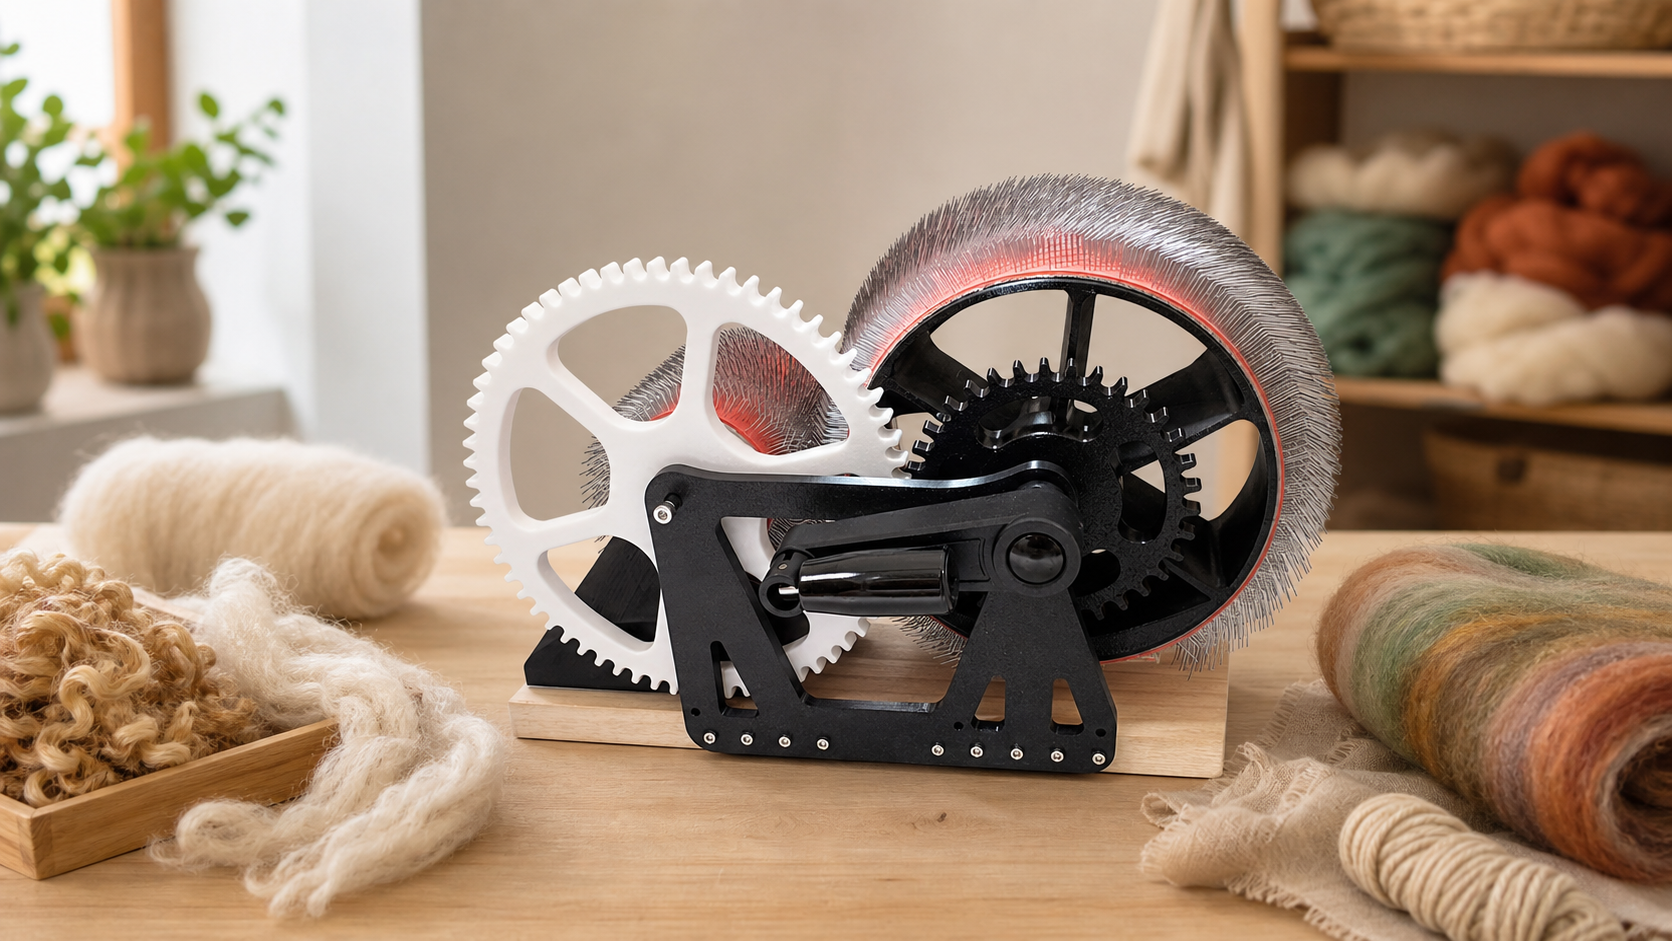
Review the Studio Drum Carder with your kit in mind. Where will it sit? Where will fiber wait? Where will finished batts go? The DrumCarder homepage is a good starting point for the product path and support links.
Before ordering, check the shipping policy and refund and returns policy. If you have questions about setup or product fit, use the contact page.
Picture the cleanup path as well as the carding path. If the trash, labels, storage bags, and cleaning tools all have a place, the kit will stay useful after the first enthusiastic session.
Build A Cleaner Carding Station
Review the Studio Drum Carder and plan the small kit that will support your wool, alpaca, art batt, and project-prep workflow.
FAQ
What belongs in a small fiber prep kit?
Include fiber storage, labels, a notebook, a simple measuring method, safe cleaning tools, sample bags, and a stable work surface.
Do I need many tools besides the drum carder?
No. Start small. Add only the tools that help you stage fiber, record blends, clean up, or store finished batts.
Should I buy storage before the carder arrives?
Basic storage helps. Separate fiber by type, color, and project so setup day is easier and your first test does not become messy.
Is a scale required?
No, but it helps with repeat blends and shop batts. A notebook and consistent portions are enough for many personal projects.
How do I keep the kit from becoming clutter?
Use zones and remove items that do not help carding, recording, cleaning, or storage. The kit should make the session calmer, not busier.