
Blog
How to Clean Carding Cloth Without Damaging It
Jul
Quick answer: clean carding cloth gently, often, and with the teeth in mind. Remove loose fiber after each session, lift trapped bits without digging, avoid bending or scraping the pins, and keep moisture, oil, and rough tools away from the cloth unless the product maker gives specific care guidance.
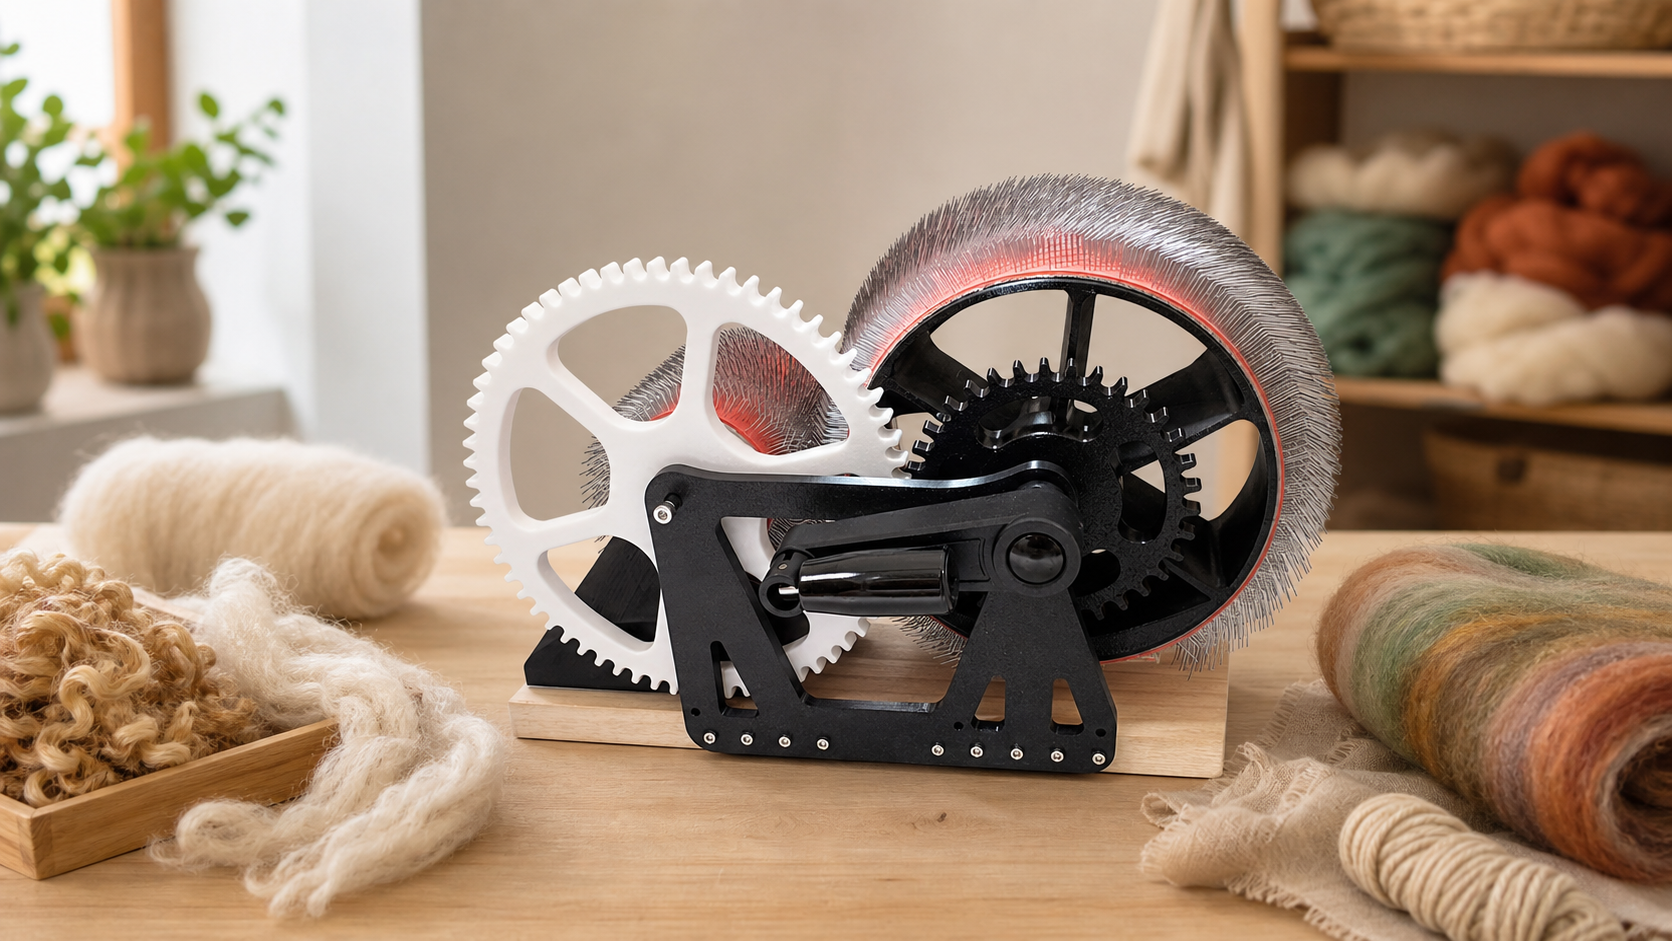
Carding cloth is the working surface of a drum carder. When it is packed with short fibers, sticky dye residue, nepps, or old add-ins, new batts become harder to control. The answer is not aggressive cleaning. It is steady, light maintenance that keeps the cloth clear enough to work while protecting the teeth that do the carding.
If you are new to the tool, review the Studio Drum Carder and keep a simple cleaning kit near the bench. You should not need a dramatic cleanup after every batt if the session is organized from the start.
Clean A Little After Every Session
The safest cleaning habit is frequent and light. After you remove the batt, look for loose fiber on the main drum, near the feed area, and around edges. Lift what comes away easily. If a few fine fibers remain, do not panic. The goal is a cloth that is ready for the next session, not a surface attacked until it looks unused.
This habit also makes troubleshooting easier. If the carder suddenly pulls unevenly or the next batt carries old colors, you will know the problem is recent. Waiting until the cloth is packed makes cleaning slower and increases the temptation to use too much force.
Use The Direction Of The Teeth
Carding cloth has direction. Work with it, not against it. Use light strokes and lift fiber out of the teeth instead of scraping sideways. If a tool catches, stop and change angle. Bending teeth can affect future carding, and rough cleaning can do more harm than the fiber you were trying to remove.
Do not use metal tools that were not meant for the carder unless the maker recommends them. A pointed tool may look useful for trapped bits, but one careless dig can damage the cloth. When in doubt, use a softer brush and patience.
Remove Color And Texture Leftovers Before Switching Projects
Project changes are where cleaning matters most. If you carded black wool, sparkle, silk, dyed locks, or nepps, clear leftovers before switching to pale wool or a smooth spinning batt. Tiny leftovers can be charming in art batts and maddening in fine prep. Give yourself a reset between very different fibers.
A useful routine is to run a visual check under good light. Turn the drum slowly by hand. Look for bright specks, short trapped fiber, or old locks wrapped near the edges. Remove what you can gently. Then card a small test amount if the next project is color-sensitive.
Avoid Moisture Unless Instructions Say Otherwise
Most routine cleaning should be dry. Water can affect wood, metal, cloth backing, or trapped fiber depending on the tool design. Oil can attract dirt or transfer to fiber. Household cleaners can leave residue. Unless the product instructions say otherwise, keep cleaning dry and simple.
If you card damp fiber by mistake, stop and let the tool dry in a sensible place before storage. Damp fiber can pack into the cloth and become harder to remove later. It can also make the next batt feel sticky or uneven.
Protect The Cloth During Storage
Cleaning is easier when the cloth is protected between sessions. Cover the carder so dust, thread, pet hair, and loose craft scraps do not settle into the teeth. Keep it away from open dye containers and damp work areas. If your studio is a shared room, storage matters as much as the cleaning technique.
Before storing, remove loose fiber and check the handle area. A quick tidy prevents old material from becoming part of the next blend. It also keeps the tool more pleasant to bring out, which means you are more likely to use it.
Know When To Ask Instead Of Guess
If the cloth has a stubborn snag, unusual residue, or visible damage, do not keep experimenting with harsher methods. Use the contact page and ask what is appropriate for the current product. Include the fiber type and what happened. A careful question is better than a permanent mark from a rushed fix.
When comparing or buying a carder, include maintenance in the decision. Read the site, product page, shipping policy, and refund and returns policy. A tool that is easy to clean and easy to ask about is more useful in a real studio.
Choose A Carder You Can Maintain Confidently
Review the product page and keep gentle cleaning habits in mind before adding a drum carder to your fiber bench.
View the product: https://drumcarder.com/product/studio-drum-carder/
FAQ
How often should I clean carding cloth?
Remove loose fiber after each session and do a closer check before switching color, texture, or fiber type. Frequent light cleaning is safer than rare aggressive cleaning.
Can I scrape carding cloth to remove stuck fiber?
Avoid harsh scraping. Work gently with the tooth direction and use appropriate light tools. If something catches, stop rather than forcing it.
Should I wash carding cloth with water?
Routine cleaning should usually be dry unless the product maker provides different care guidance. Moisture can create problems depending on materials and residue.
Why does old fiber show up in my next batt?
Loose fibers, sparkle, nepps, or short colored bits may still be trapped in the cloth. Clean between contrasting projects and test with a small amount before a pale batt.
What should I do if the cloth looks damaged?
Stop using rough tools and ask the seller for product-specific care advice. Continued digging or bending can make the problem worse.